浮动体是会移动的文本框
解放思想,然后解放生产力。
浮动体这个概念,对于大多数 LaTeX 用户来说,应该都有隔着一层纱的感觉。考虑到大多数 LaTeX 用户是从 M$ Word 开始接触电子文档,也没有机会接触专业排版的机会,这种现象并不奇怪:因为大多数用户没有养成关于排版规则和成因的思考习惯。
在系列文章第一篇中,我们介绍了「为什么需要浮动体」。简单来说,诸如图片表格这种占据篇幅较大的内容,强行插入在「当前位置」是不合适的,通常会造成大片的空白,因此需要浮动。为此,LaTeX 的浮动机制允许用户将图表置于浮动体中,按照一定算法在文中浮动。
对于有过 M$ Word 使用经验的用户来说,理解 LaTeX 中的浮动体,最简便的方式是将其理解为「一个支持 \caption 会按照算法浮动位置的文本框」。在 M$ Word 当中,文本框中可以放置任意内容;在 LaTeX 浮动体中也是一样。在 M$ Word 当中,文本框可以没有 \caption,在 LaTeX 浮动体中也是一样。
\documentclass{article}
\usepackage{mwe} % for dummy text
\begin{document}
Foo
\begin{figure}[htb] % a float environment without \caption containing text
\blindtext
\end{figure}
bar
\end{document}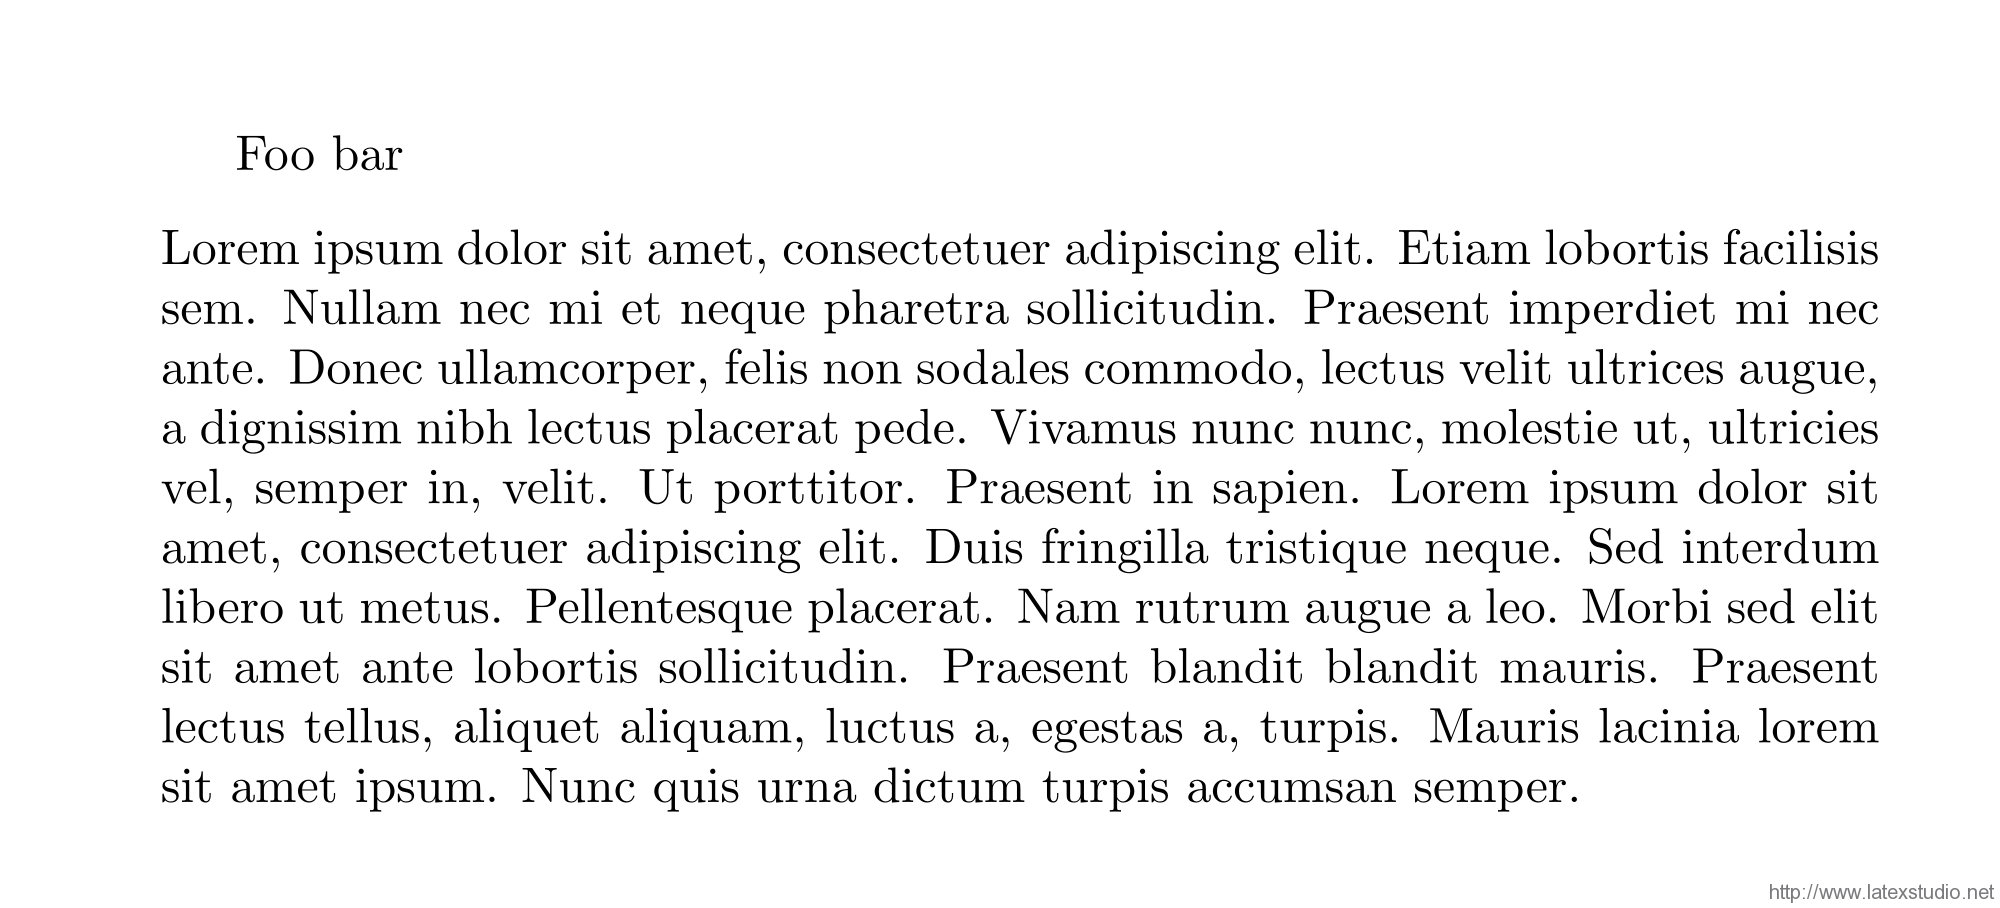 可以看到,LaTeX 中的浮动体中,字体、分词、折行等行为,与正文中一般无二;只不过,由于
 figure 环境整体浮动,让 Foo 和 bar 排在了同一行,而 \blindtext 的输出则浮动到了 Foo bar 的下方。
多个元素
上例中,我们在浮动体(figure 环境)中插入了一段文本(由 \blindtext 生成),以此来演示浮动体内的排版逻辑。事实上,由于 TeX 的排版过程实际是一个盒子套盒子的搭积木的过程(TeX 在排版时不关心具体内容,只关心描述每个元素尺寸的 bounding box),上例中我们已经可以认为是在浮动体中插入了多个元素了。接下来的任务,只需要将图片或者表格想像为「特别大的字符」,套用排版的基本逻辑,就能在浮动体内排版多个图表元素了。
\documentclass{article}
\usepackage{mwe} % for dummy text
\usepackage[showframe]{geometry} % for showing frames of pages
\begin{document}
Foo
\begin{figure}[htb]
\rule{4cm}{3cm}\quad\rule{4cm}{3cm}\quad\rule{4cm}{3cm}\quad\rule{4cm}{3cm}
\end{figure}
bar
\end{document}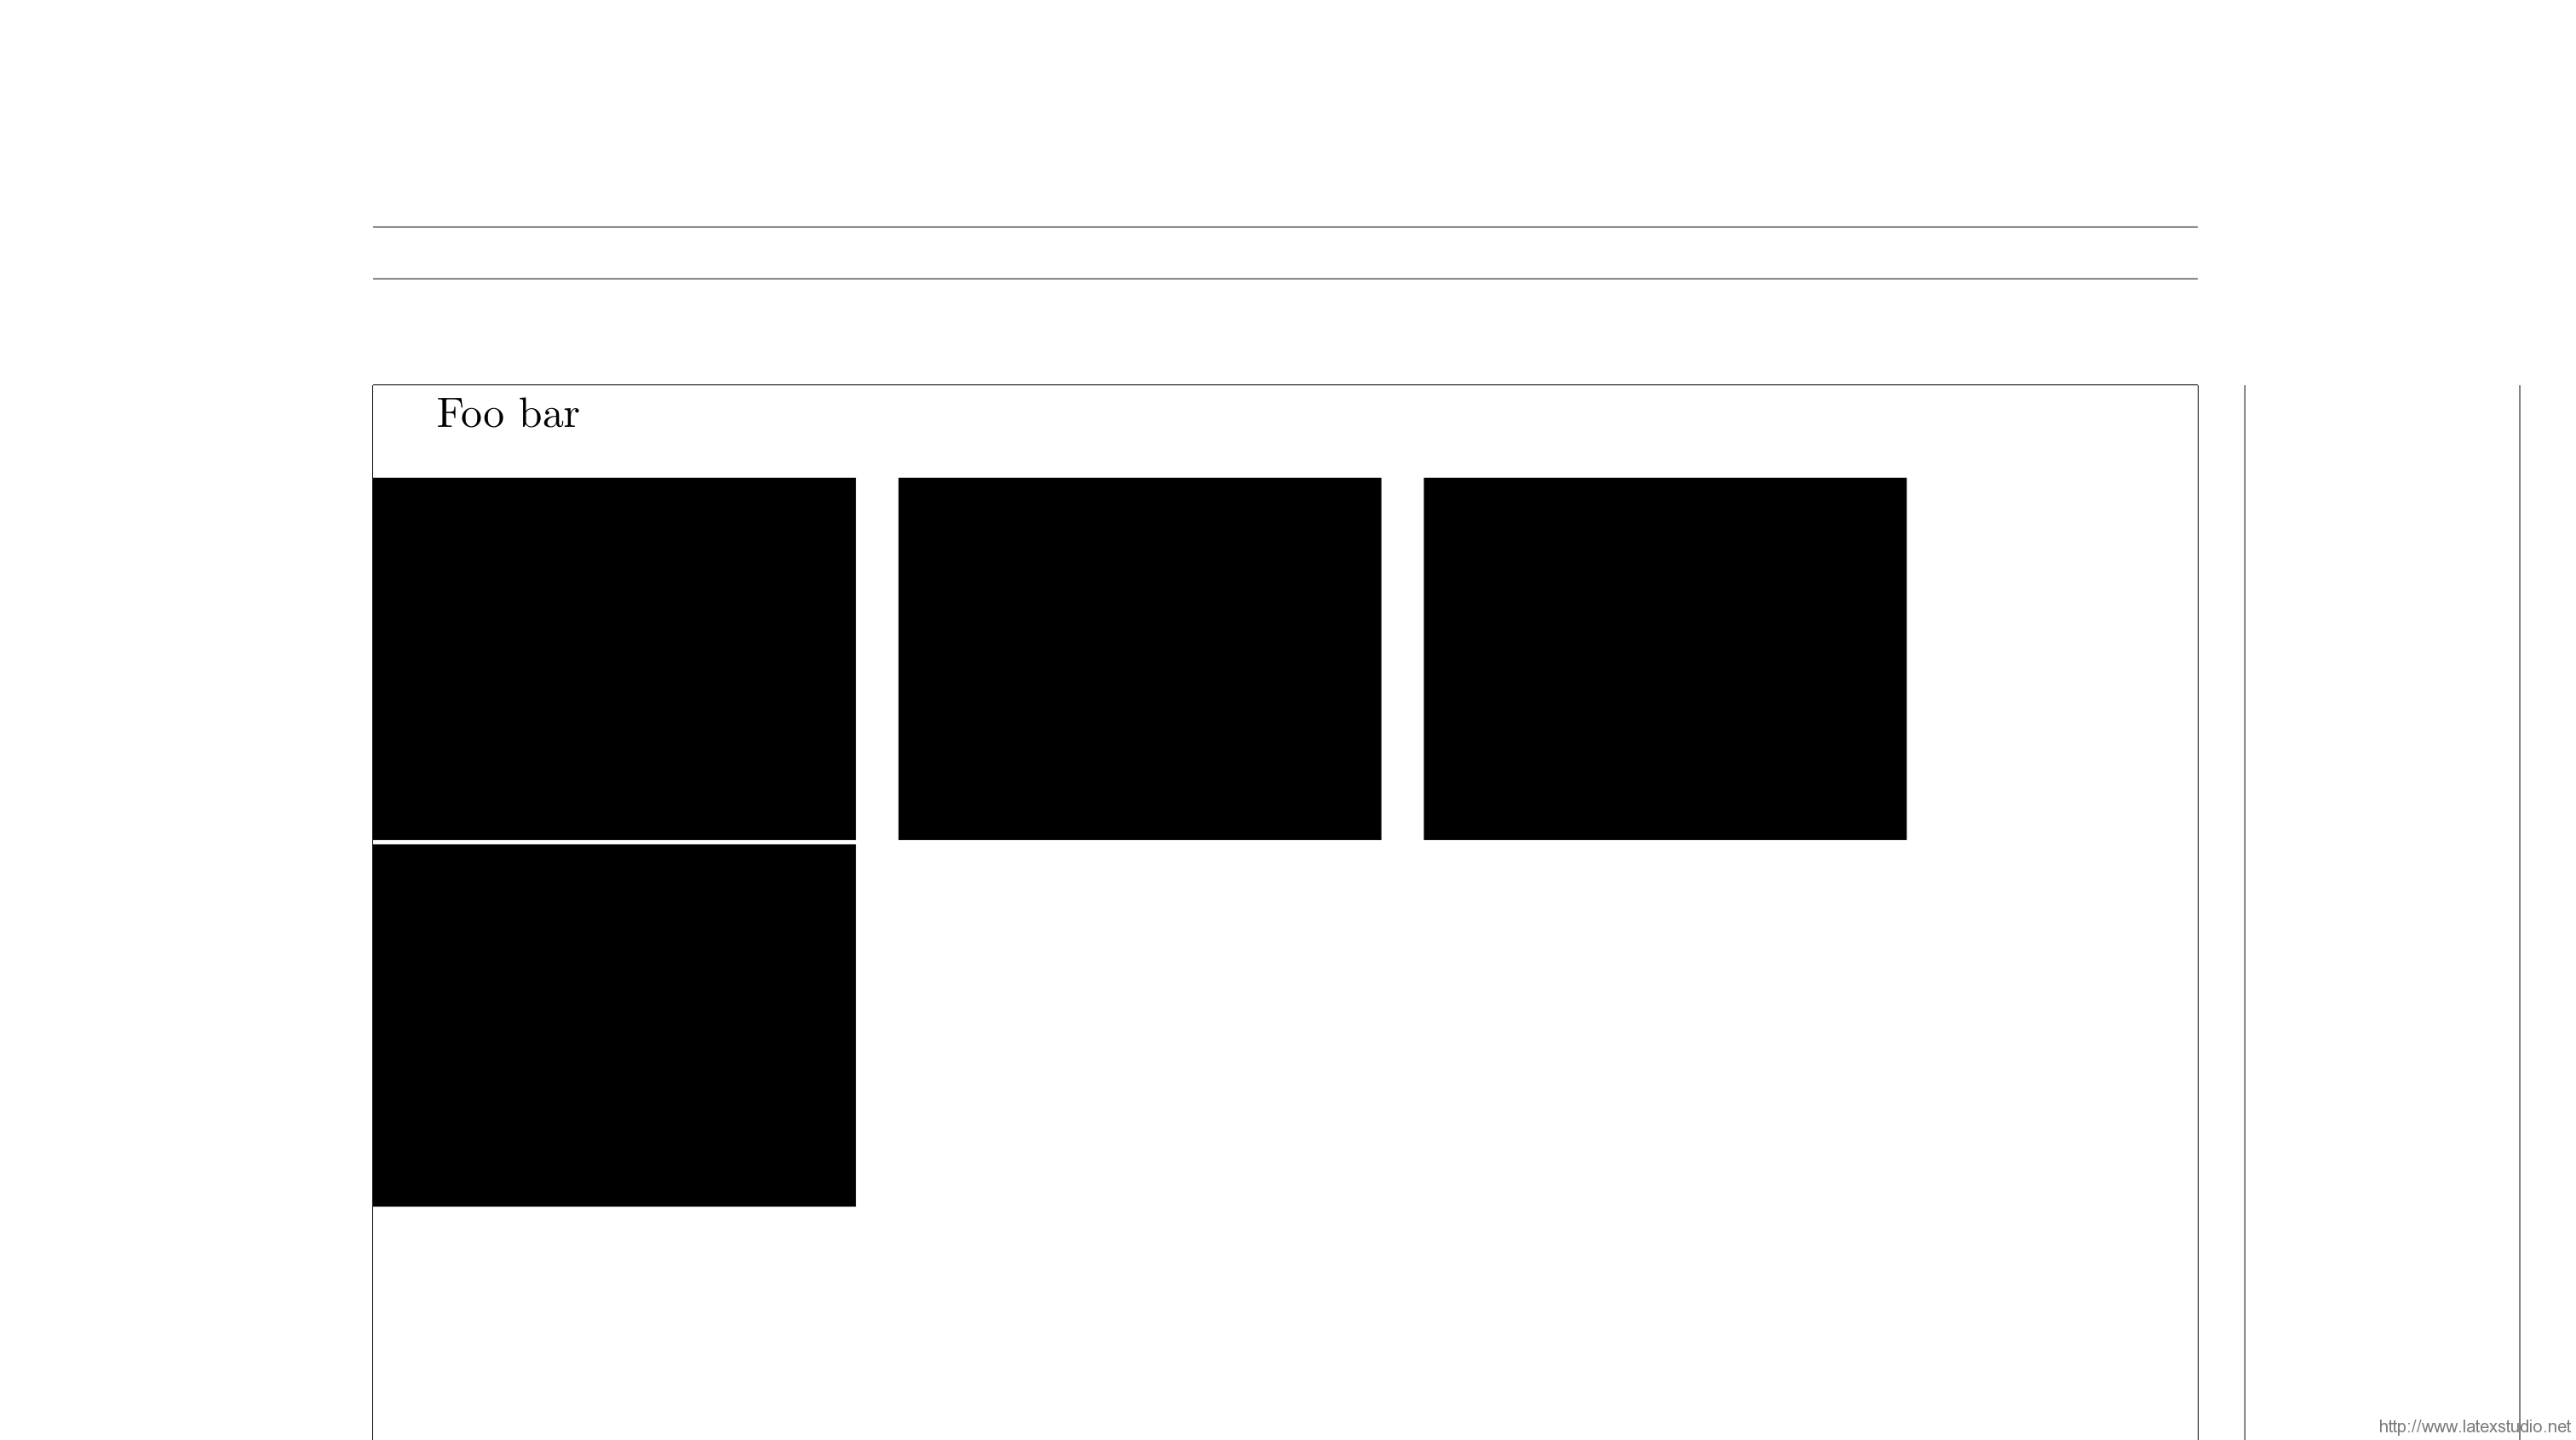 在
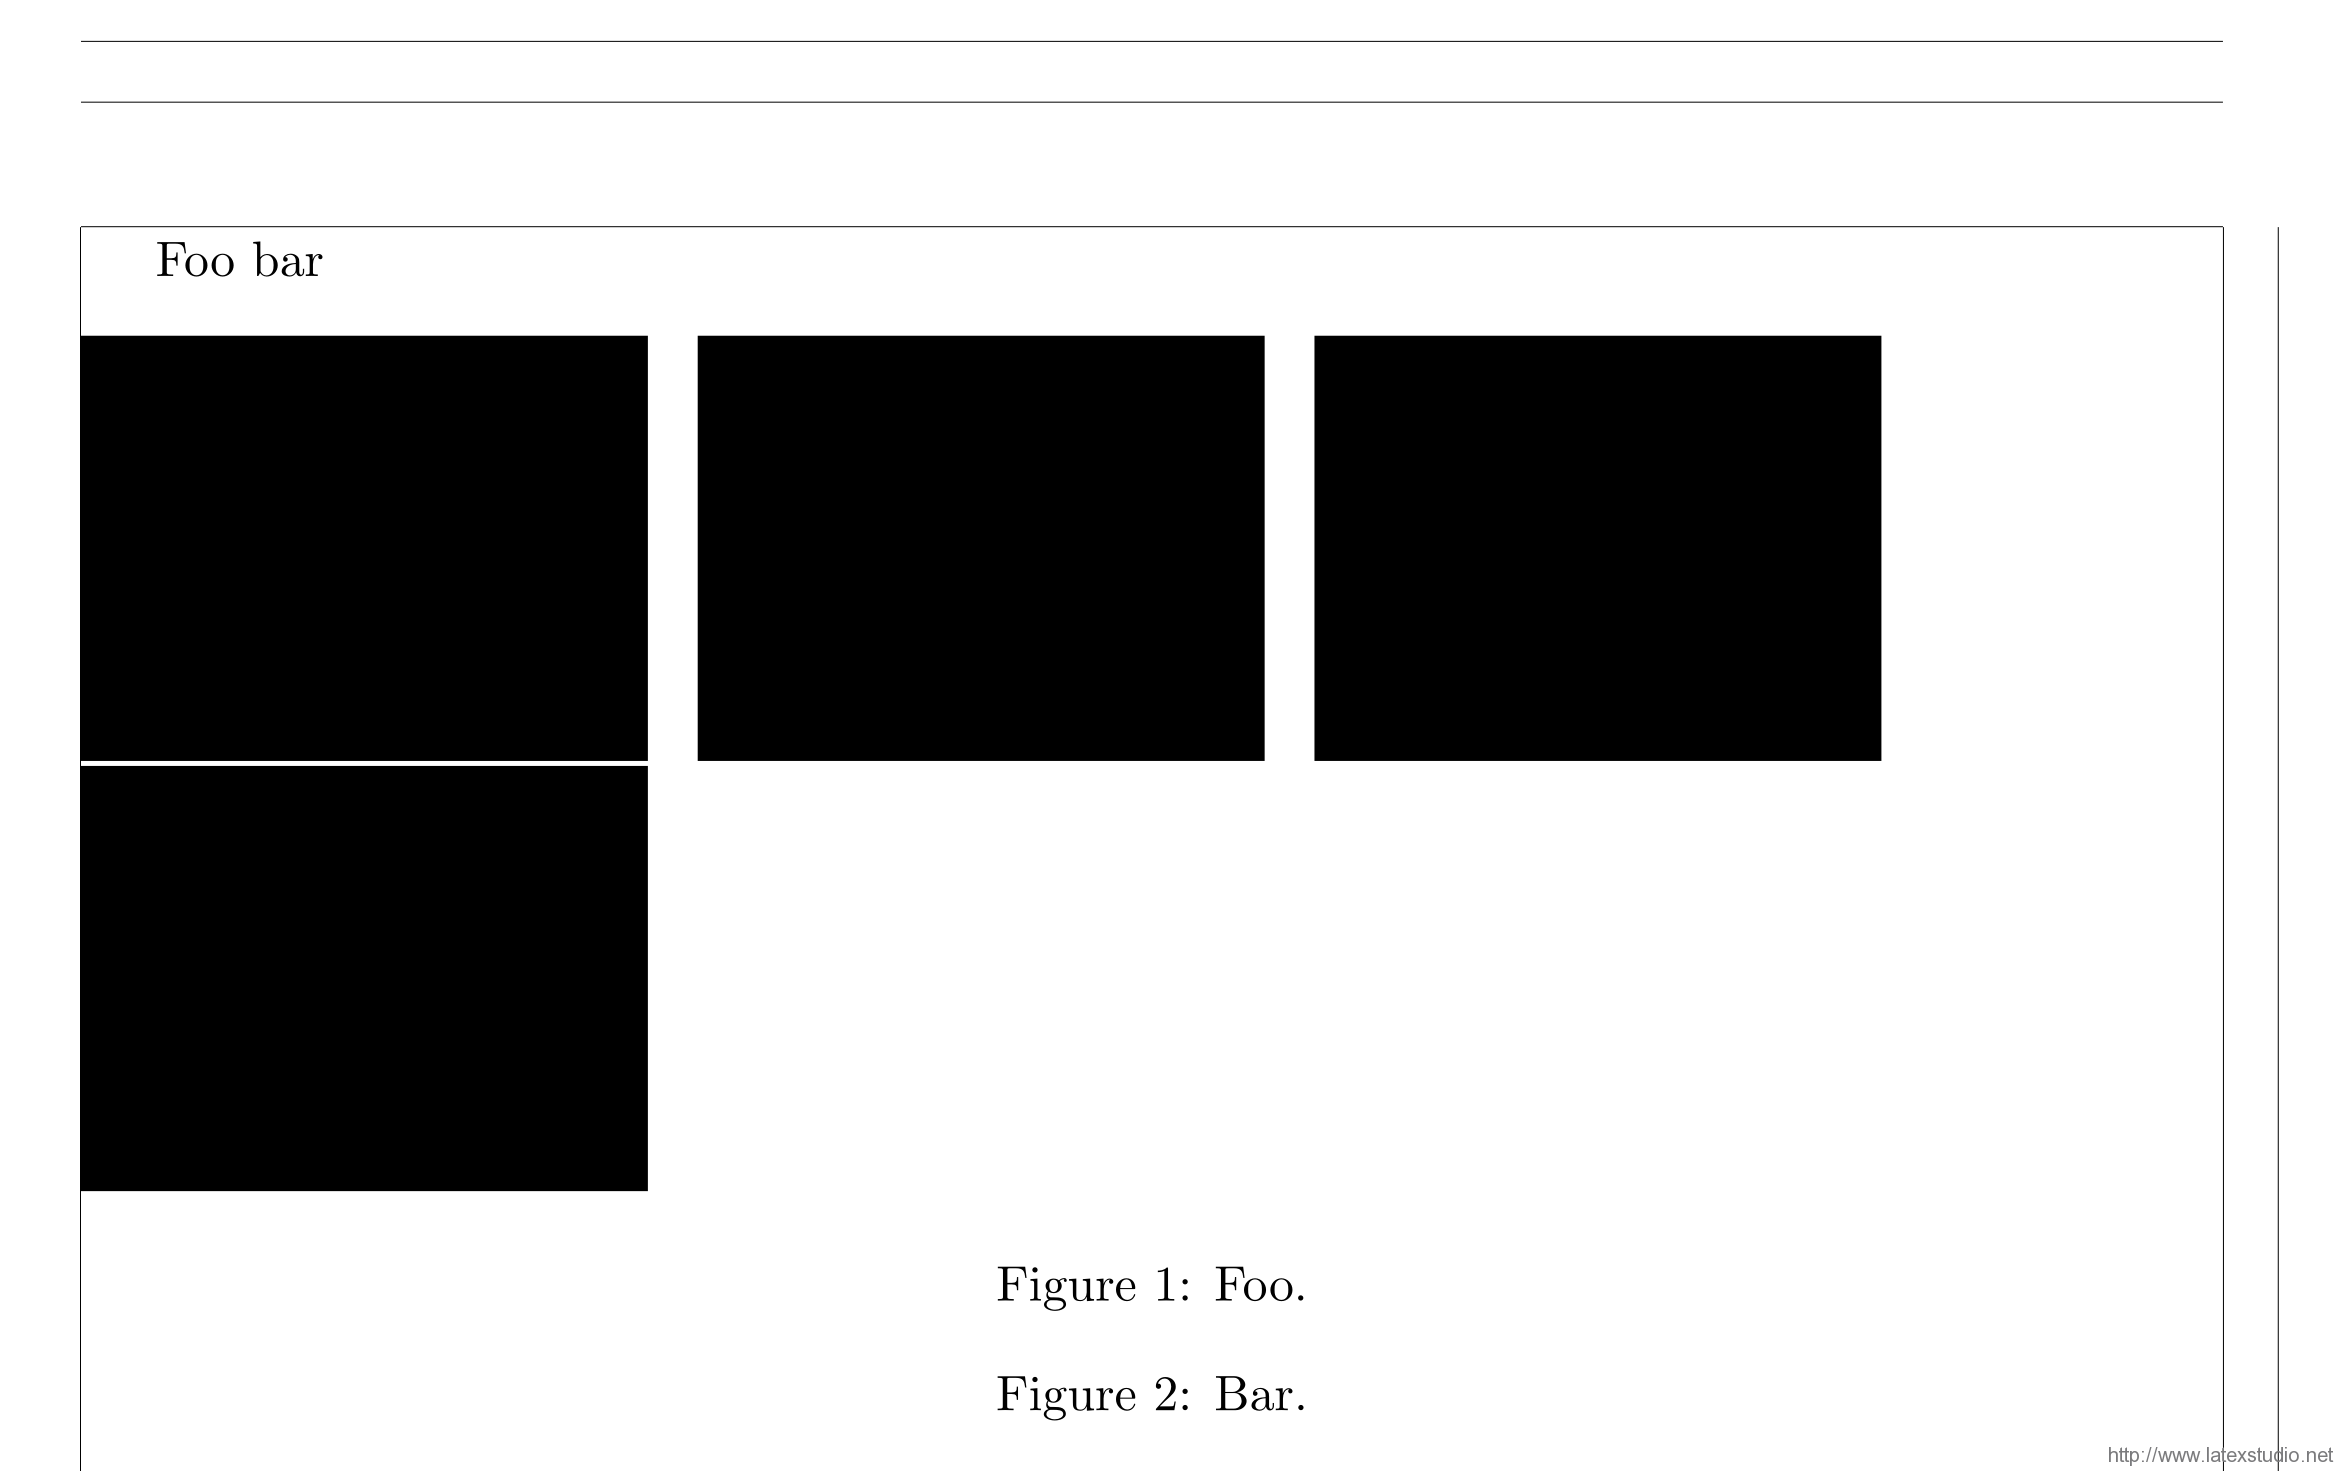
在 geometry 宏包的辅助下,可以看到,浮动体中摆放了 4 个黑色的标尺(\rule{<width>}{<height>})。这 4 个标尺是对图表的模拟——若是将 \rule 命令换成 \includegraphics,则得到 4 张图片;若是将 \rule 命令换成 tabular 等环境,则得到 4 个表格。前文说,TeX 排版时不关心内容,只关心尺寸,因此可以把图表都想像为特别大的字符,而后套用正常的排版逻辑即可。此处,在浮动体内,同一行有 4 个「字符」;由于宽度不够摆放 4 个字符,所以 TeX 在第三个字符之后折行,在下一行排版第四个字符。因此得到这样的排版结果。
题注是有一定格式的编号文本
因为不了解,所以不敢轻易尝试。
对于浮动体的处理,另外一个重要的部分是对题注的处理。基于同样的原因,很多 LaTeX 初学者对题注知之甚少。特别地,由于使用「交叉引用」的意识淡薄,大多数 M$ Word 基础用户完全不知道有「题注」这个东西。于是,当他们转而使用 LaTeX 的时候,一方面感叹于 \caption 的易用性,另一方面恐怕会对之心存敬畏。
在 LaTeX 输出的一个典型题注的代码如下:
\documentclass{article}
\usepackage{mwe} % for dummy text
\usepackage[showframe]{geometry} % for showing frames of pages
\begin{document}
Foo
\begin{figure}[htb]
\rule{4cm}{3cm}\quad\rule{4cm}{3cm}\quad\rule{4cm}{3cm}\quad\rule{4cm}{3cm}
\caption{Foo bar.}
\end{figure}
bar
\end{document}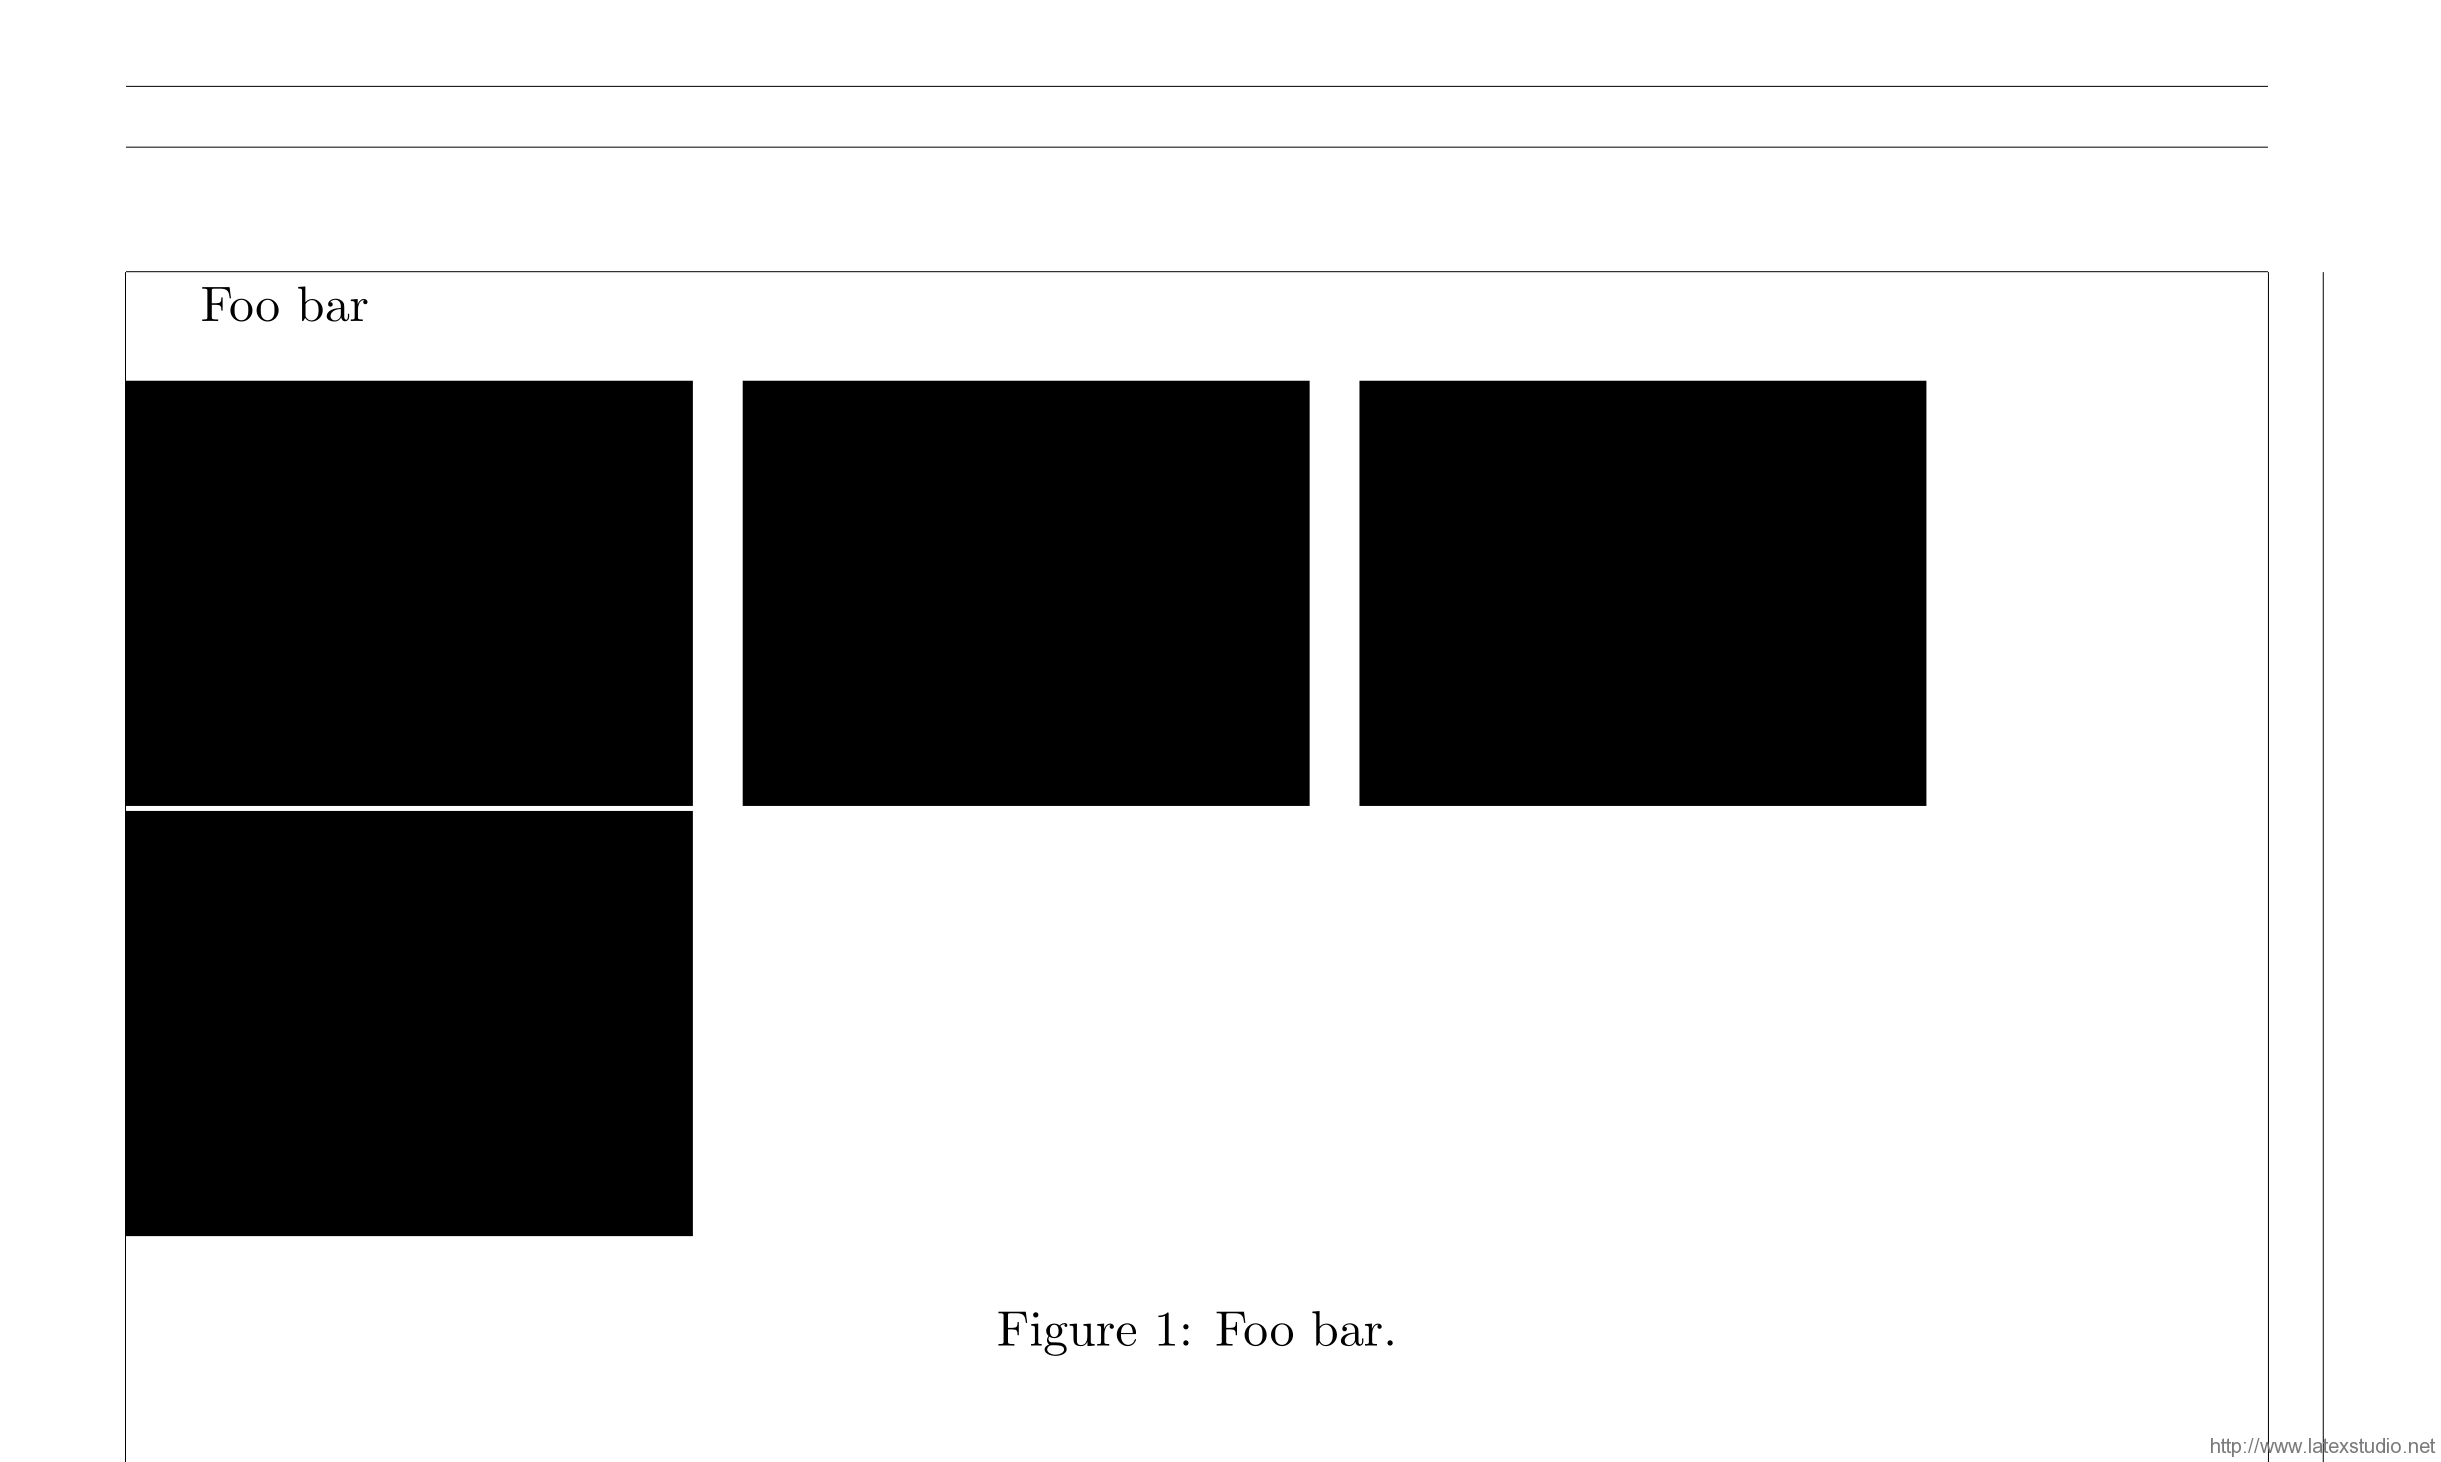 其中,
其中,Figure 1 是题注的「标签(label)」,其中由包含题注类型和编号;Foo bar. 是题注的「文本(text)」;标签和文本之间则是「分隔符(label sep)」,此处是 :。
不难发现,题注的默认格式大致是:
居中:
\centering;罗马字族:
\rmfamily;直立字形:
\upshape;标准字体大小:
\normalsize;标准字重:
\mdseries。
若想修改题注的格式,可以用caption宏包(而不是caption2)。
在此基础上,我们可以尝试做各种奇怪的事情。
插入一个手工题注
由于浮动体其实只是一个文本框,所以我们可以向其中添加任何内容。对于题注来说,作为实验用途,我们完全可以按照格式,手工创建一个题注。
\documentclass{article}
\usepackage{mwe} % for dummy text
\usepackage[showframe]{geometry} % for showing frames of pages
\begin{document}
Foo
\begin{figure}[htb]
\rule{4cm}{3cm}\quad\rule{4cm}{3cm}\quad\rule{4cm}{3cm}\quad\rule{4cm}{3cm}
\centering
{\rmfamily\upshape\normalsize\mdseries Figure 1: Foo bar.}
\end{figure}
bar
\end{document}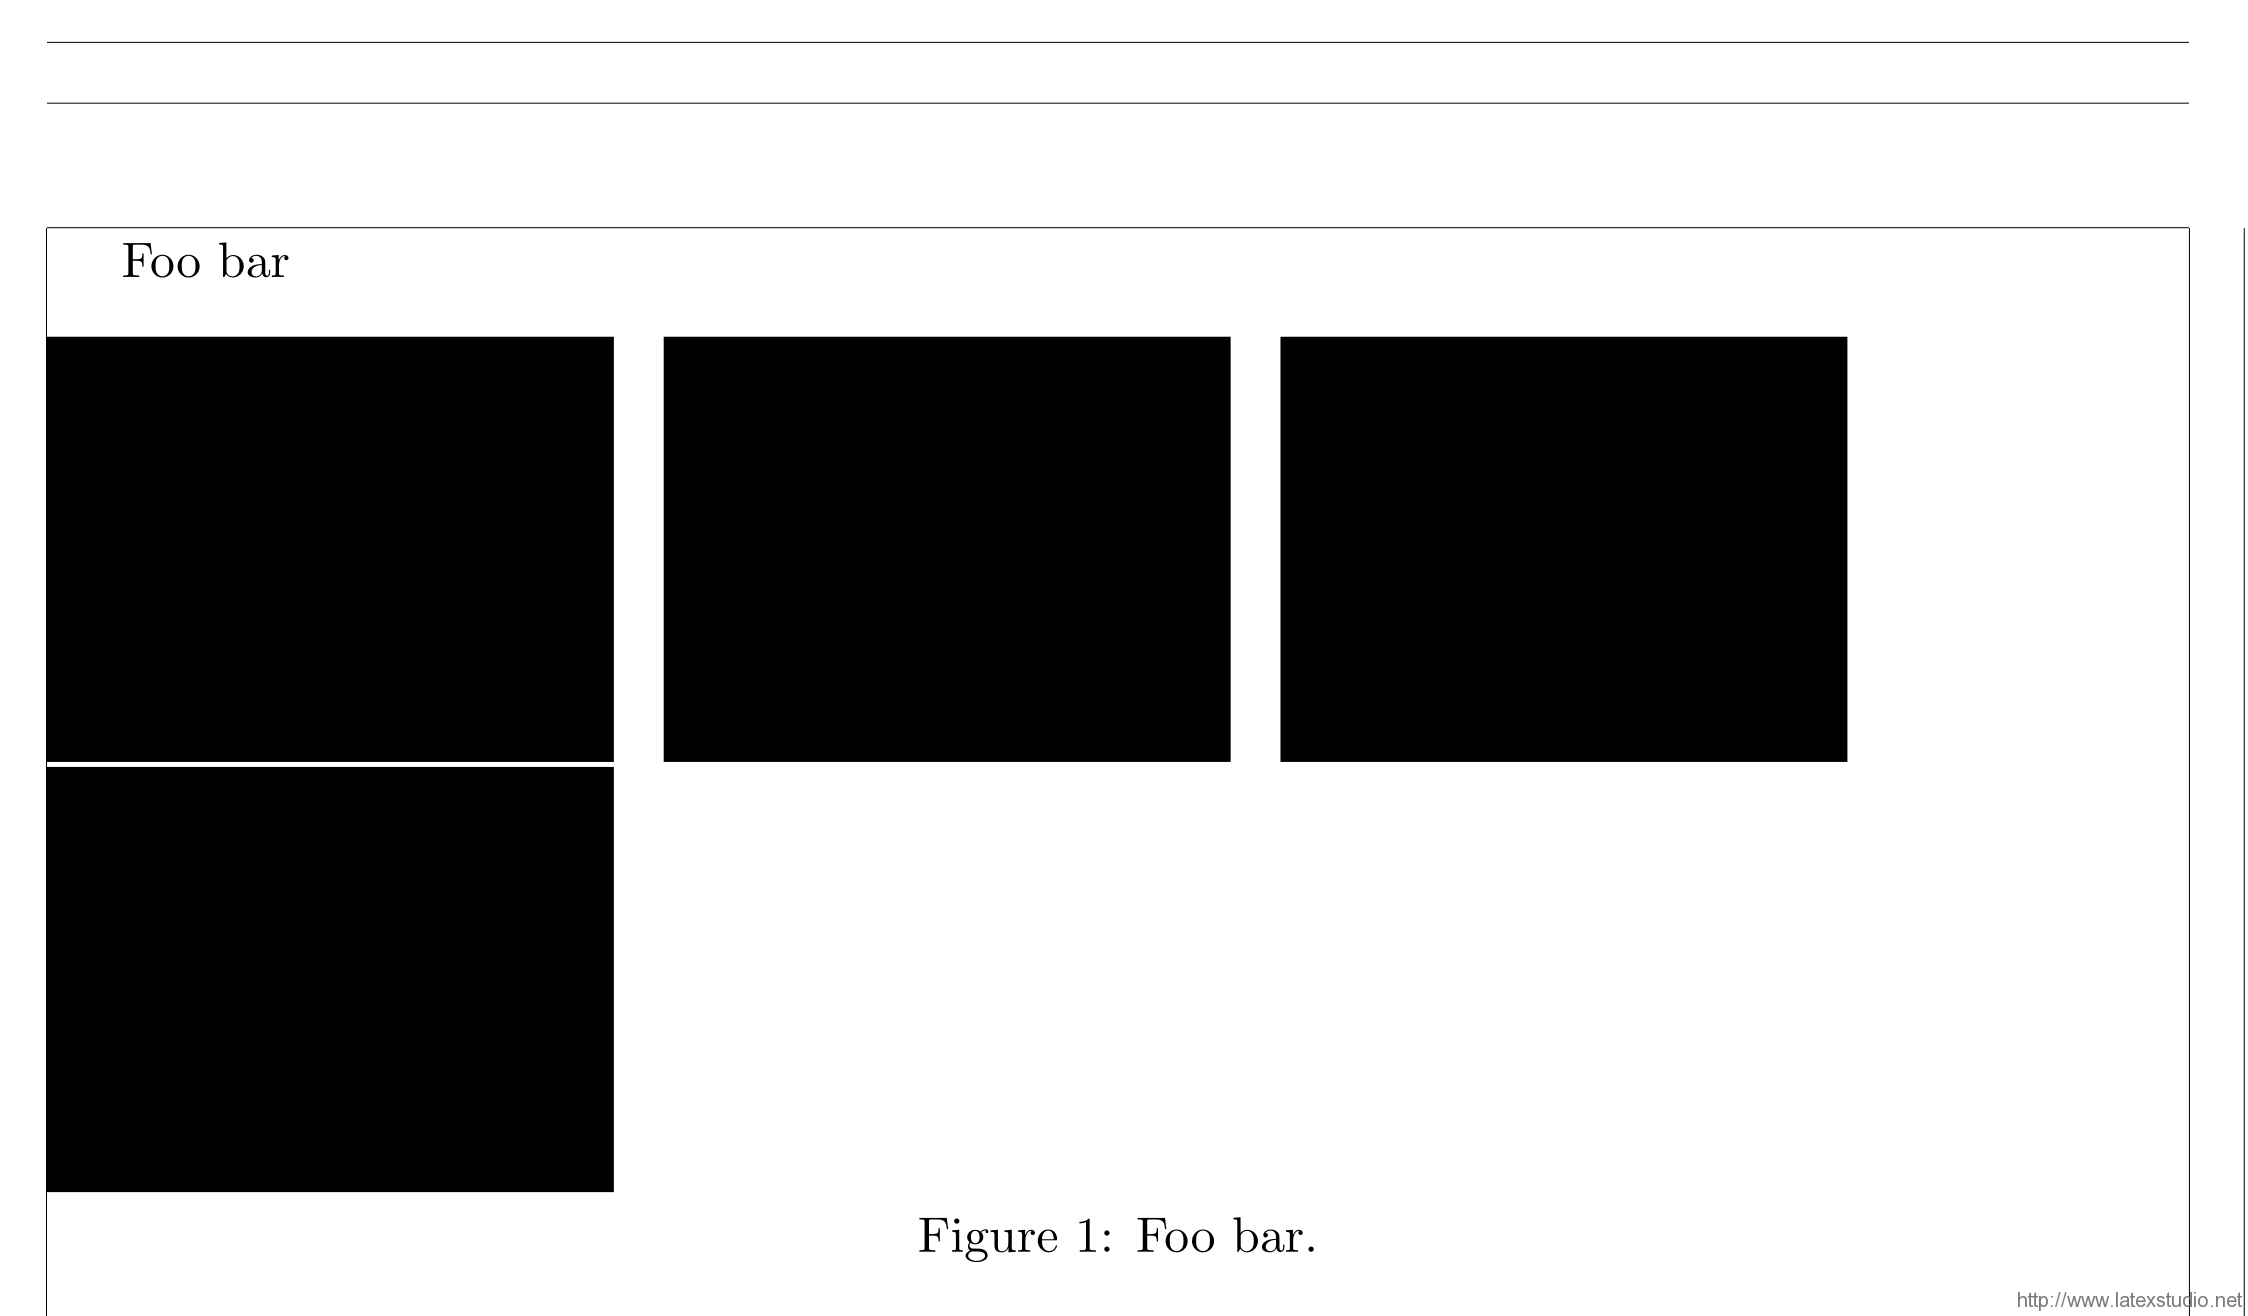 从效果上说,除了没有自动编号,与
 \caption 生成的题注一般无二。
使用多个 \caption
同样,由于 \caption 只是一个格式化输出的宏,LaTeX 也不会禁止我们在同一个浮动体中多次使用 \caption。
\documentclass{article}
\usepackage{mwe}  % for dummy text
\usepackage[showframe]{geometry}  % for showing frames of pages
\begin{document}
Foo
\begin{figure}[htb]
\rule{4cm}{3cm}\quad\rule{4cm}{3cm}\quad\rule{4cm}{3cm}\quad\rule{4cm}{3cm}

\caption{Foo.}
\caption{Bar.}
\end{figure}
bar
\end{document}关于图表题注位置的区别
本段插入一些扩展内容。
一般来说,在学术论文中,表格的题注至于表格之前,而图片的题注至于图片之后。其原因大致可说明如下:
It has to do with the way people absorb printed information or, more accurately, how readers of Western texts are acculturated into this. Tables are textual devices and are, to some or other approximate degree, structured to be read in the same left->right, top->bottom order (*). To this degree, they therefore do not differ in important information processing ways from the body text. Normal text (not, e.g., poetry or other intentionally disruptive forms) is ordinarily structured in a “pyramidal” form: general and introductory concepts are best placed at the beginning, with increasingly fleshed-out details placed later on. The reading eye that saccades across text and the brain that controls it has learnt beginning at the age of two or whatever to most efficiently gather (Western) textual information in this way. By our age, we cannotnot process text this way. Graphics, on the other hand, are iconic. The eye does not scan pictures for information in remotely the same way (in fact entirely different cerebral systems are in charge of gathering and interpreting textual and graphical information - you can knock out one part of the brain and impair one system without noticeably affecting the performance of the other; see, e.g., almost any popular writing by Oliver Sachs). It would be almost impossible to prevent the normal human brain from scanning and interpreting, no matter how briefly, a picture on the page before forcing it to reading the caption (no matter where the caption is placed because by that time the attentional mechanisms in the part of the brain that is now switched on is directing the eye to saccade in non-linear sequences). So, to answer your question, good typesetting sets out to provide readers the most productive (rate of information processing for expended effort) reading experience that it can. For text: the caption summary is placed above the details to fit in with linear eye saccades and the pyramid principle of text interpretation; for graphics: the graphic is placed first to fit in with quite different attentional control mechanisms, non-linear eye saccading and non-linear information processing. () Factor in acculturation. Good typesetting for R->L or bottom->top reading orders will follow these general principles (for biologically human species (*)) , leading however to different outcomes. (**) The point is that it’s our brain biology that has ultimately led to the development of these rules. Here’s something to think about: what are the optimal typesetting rules for non-human species, e.g., maybe sapient machines, or echo-locating information gatherers like bats or porpoises. Where would they like to “see” their captions? :))graphics - Why should a table caption be placed above the table?
简单来说,这样的设计是为了方便人们更舒服地阅读文章。 人类阅读表格和图片的方式是不一样的。表格也算是一种文字信息,人们阅读它和平时阅读整块文本的习惯相符合,大致是:从上到下、从左到右。因此,表格标题这种总结提示性的信息,应该放在表格开始之前。图片与表格不同,人类大脑处理图片的方式与表格大相径庭,甚至阅读图片时激活的大脑区域也与处理表格时不同。对于人类来说,在正常的阅读过程中,强迫先阅读图片标题而后阅读图片,要不然做不到,要不然做到了也很难受。因此,不如就把图片放前面,让大脑处理完之后再去阅读图片标题。 当然,这本质上是一个约定行为。如果杂志社要求你按照固定的方式去摆放图标及其标题,你却非要按照你的习惯去做——这属于自己找事。不过,基于上述考虑,图片先于标题而表格后于标题,几乎已经是约定俗成的了。
多个元素与题注
文章行文至此,大多数用户应该已经能构建出一些在浮动体中排版多个元素的代码,并为他们附上题注了。不考虑子题注,在浮动体中插入两个元素,按照元素排布形状和题注规律,大致有以下一些组合。
并排摆放,无题注
并排摆放,共享题注
并排摆放,各自题注
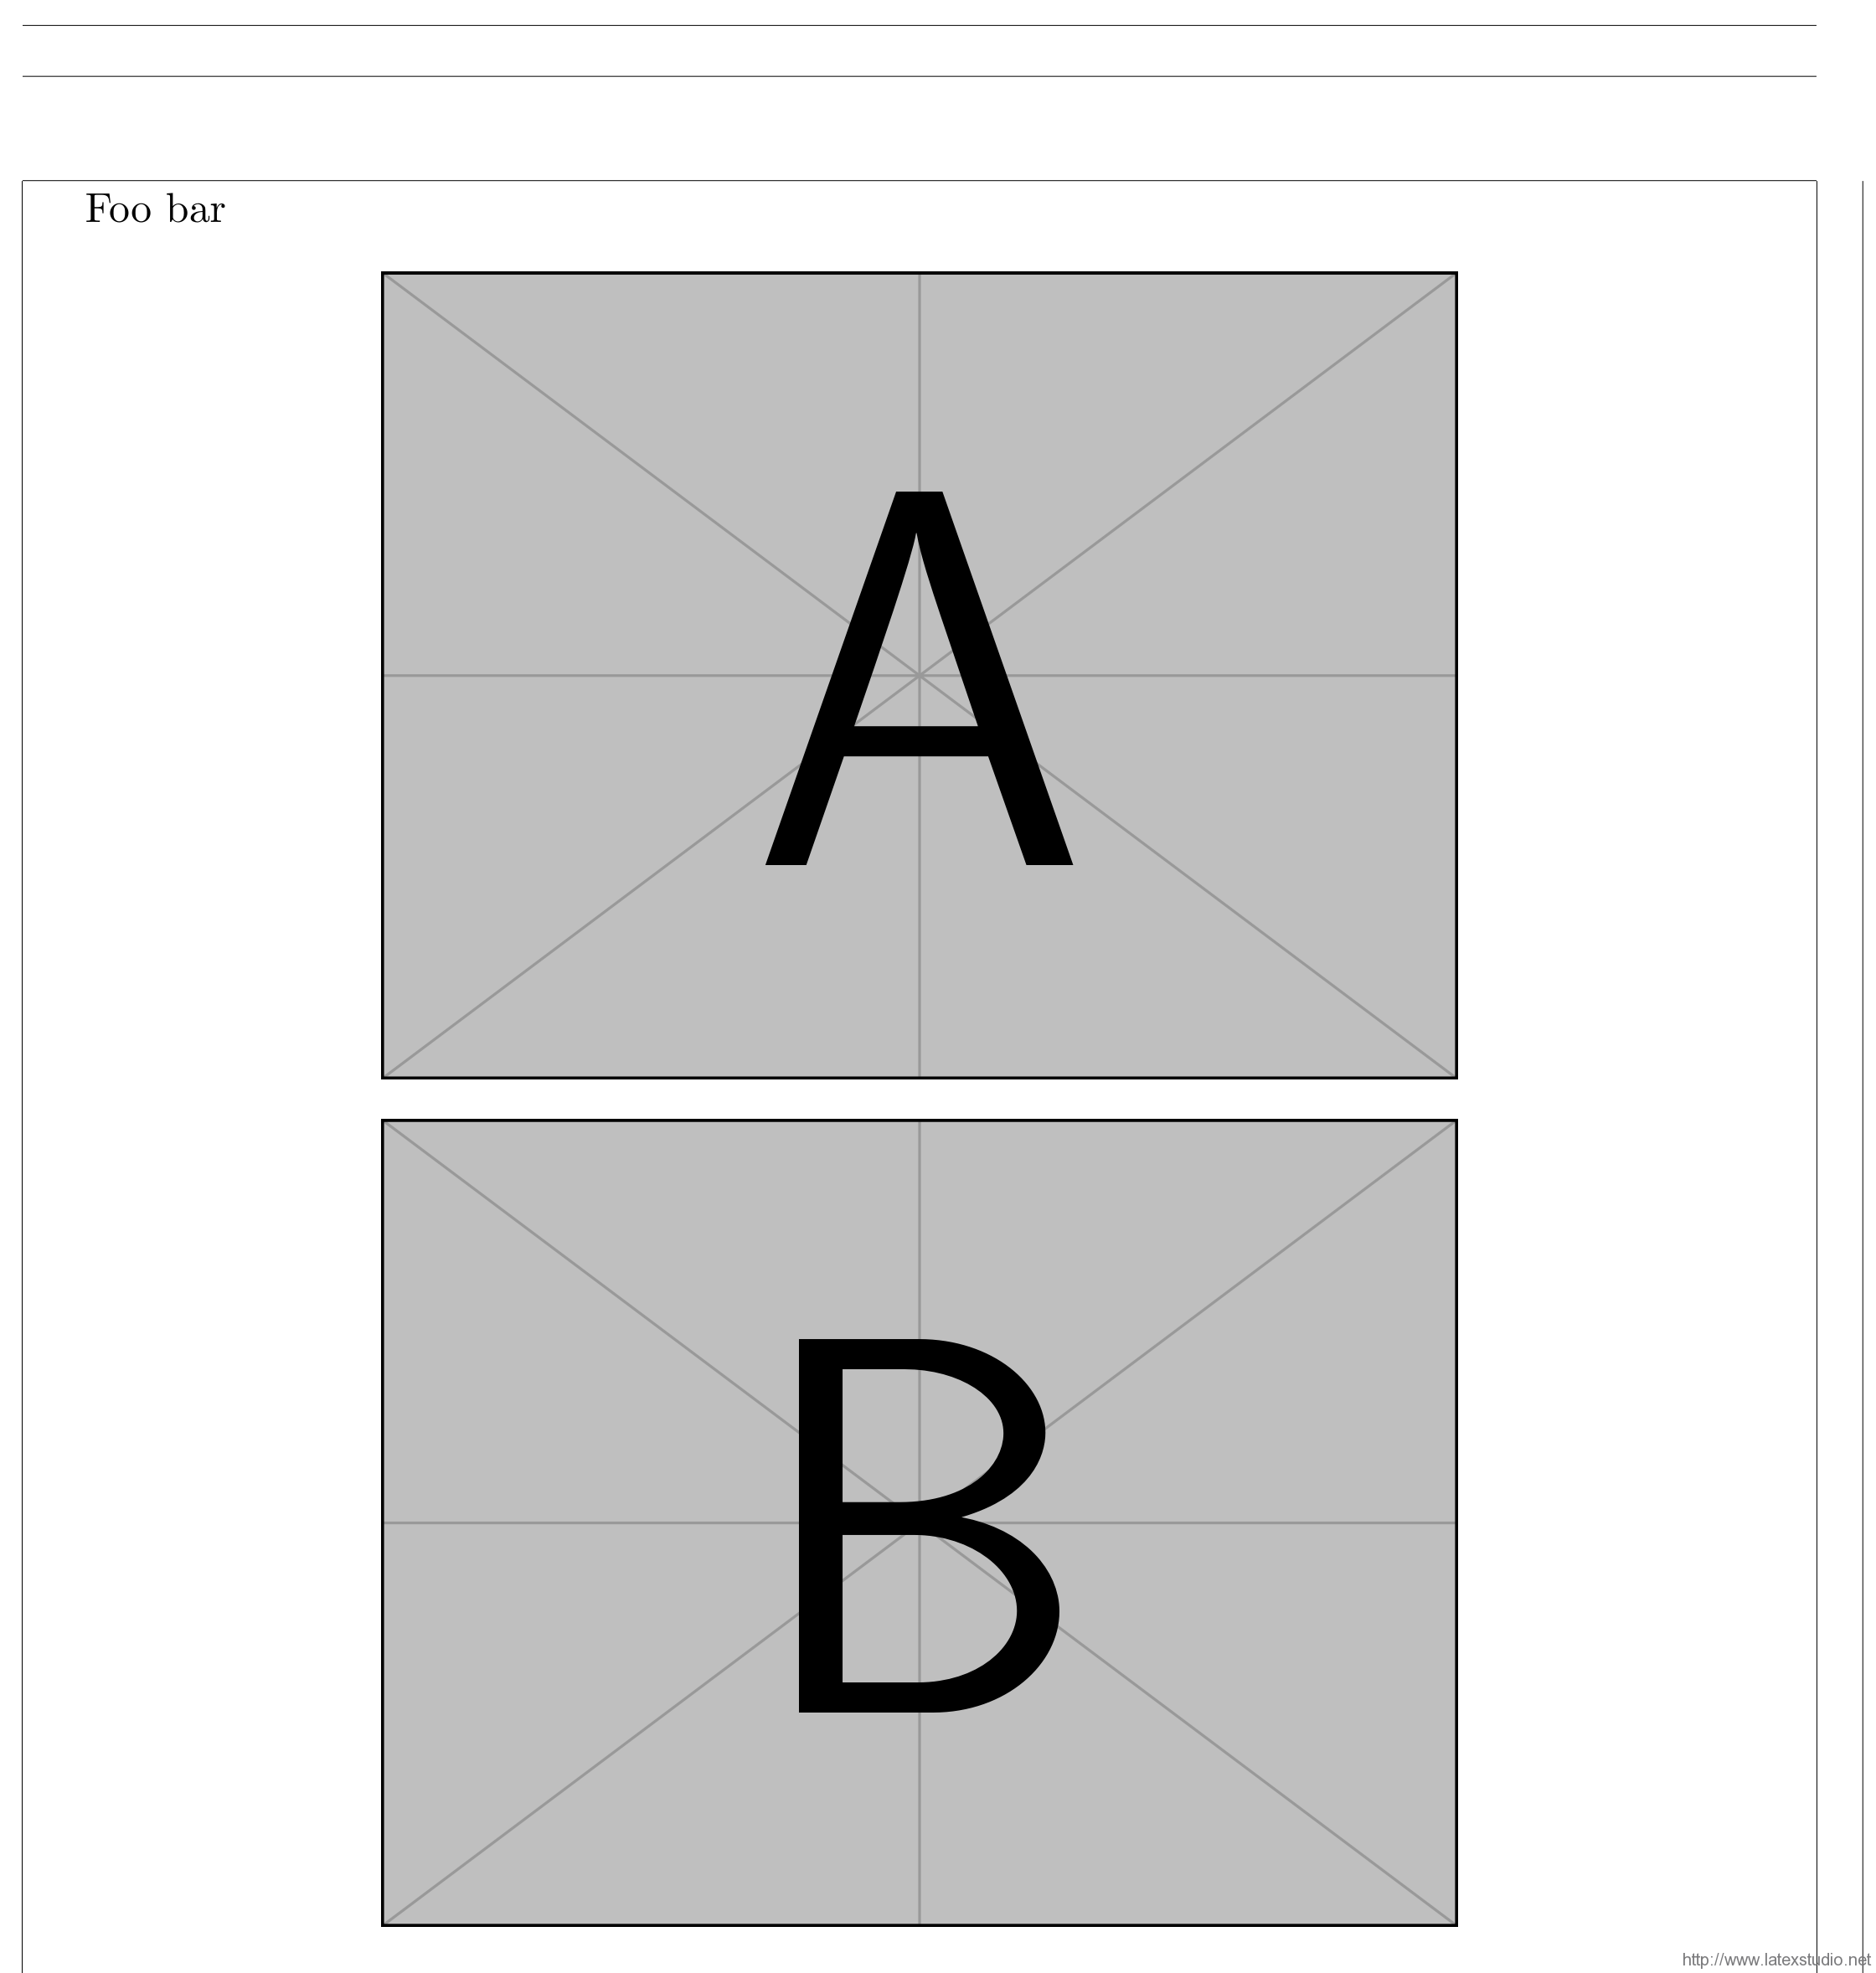
纵向摆放,无题注
纵向摆放,共享题注
纵向摆放,各有题注(无用,因为可以分割成两个浮动体)
由于元素排布形状和题注是相互独立控制的,因此,此处无须给出所有可能的结果,就足够读者举一反三了。
并排摆放,无题注
所有并排摆放的要点,都只有一个:让同一行内所有元素的总宽度不大于允可的宽度。因此,很容易构建出如下代码。
\documentclass{article}
\usepackage{graphicx}
\usepackage[showframe]{geometry} % for showing frames of pages
\begin{document}
Foo
\begin{figure}[htb]
\centering
\includegraphics[width = .48\linewidth]{example-image-a}\hfill
\includegraphics[width = .48\linewidth]{example-image-b}
\end{figure}
bar
\end{document}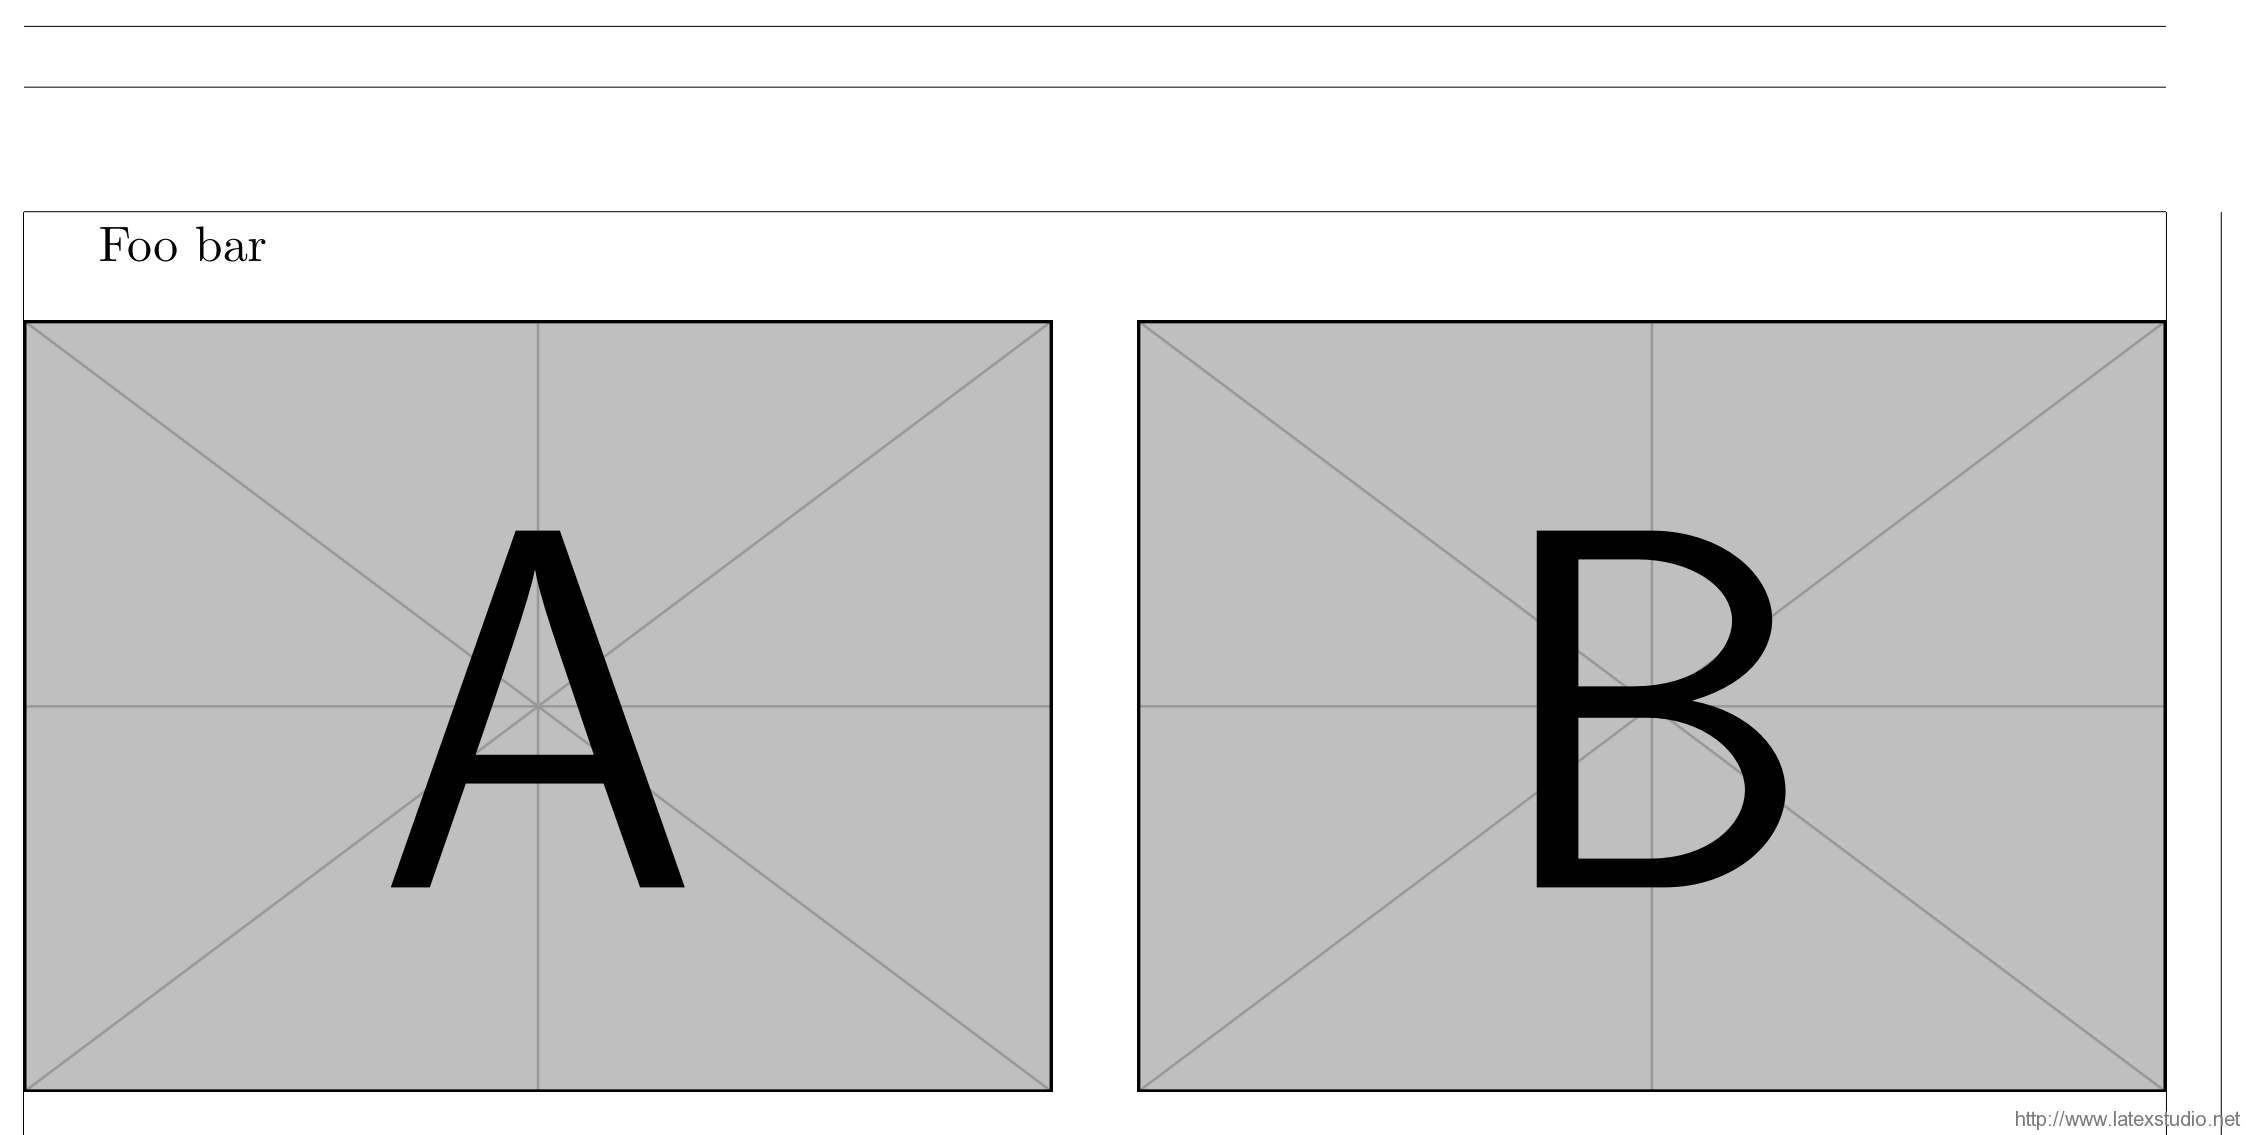 此处以
此处以 \includegraphics 的参数控制,两幅图片的宽度和为 0.96\linewidth,小于允可的宽度(\linewidth)。因此,两副图片能够并排摆放。
并排摆放,共享题注
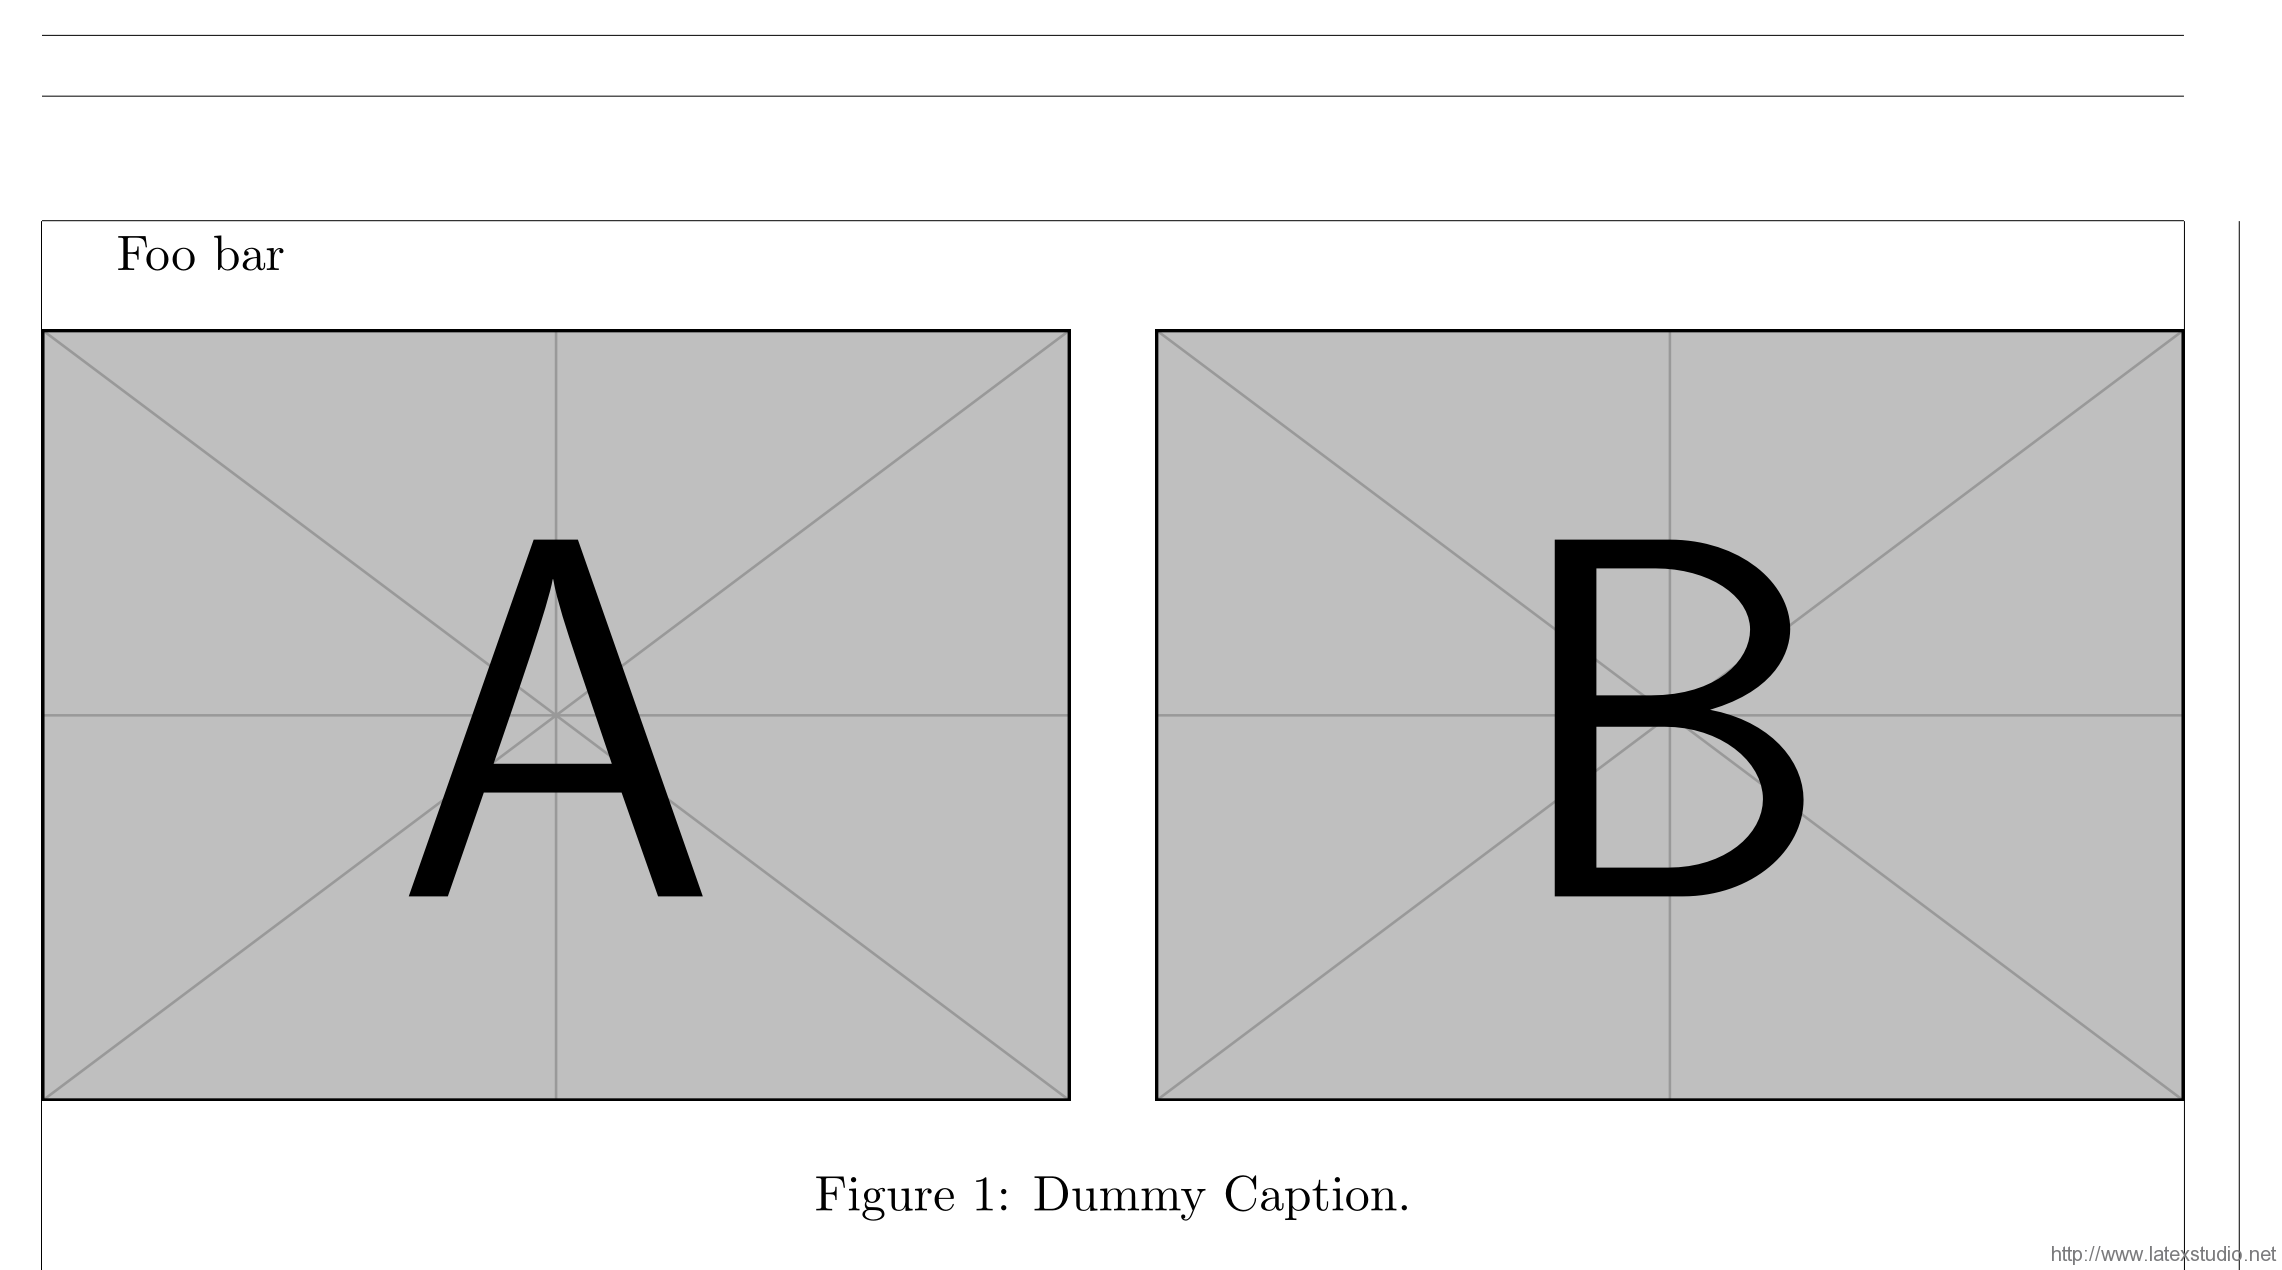
相比上一节的代码,只需加上题注即可。
\documentclass{article}
\usepackage{graphicx}
\usepackage[showframe]{geometry}  % for showing frames of pages
\begin{document}
Foo
\begin{figure}[htb]
\centering
\includegraphics[width = .48\linewidth]{example-image-a}\hfill
\includegraphics[width = .48\linewidth]{example-image-b}
\caption{Dummy Caption.}
\end{figure}
bar
\end{document}
并排摆放,各自题注
由于题注是针对当前环境居中的;因此,若我们希望为并排摆放的两个图片分别添加题注,就需要让并排摆放的两个图片分别处于单独的盒子当中。
\documentclass{article}
\usepackage{graphicx}
\usepackage[showframe]{geometry} % for showing frames of pages
\begin{document}
Foo
\begin{figure}[htb]
\centering
\begin{minipage}{0.48\linewidth}
\centering
\includegraphics[width = \linewidth]{example-image-a}
\caption{Dummy Caption A.}
\end{minipage}\hfill
\begin{minipage}{0.48\linewidth}
\centering
\includegraphics[width = \linewidth]{example-image-b}
\caption{Dummy Caption B.}
\end{minipage}
\end{figure}
bar
\end{document}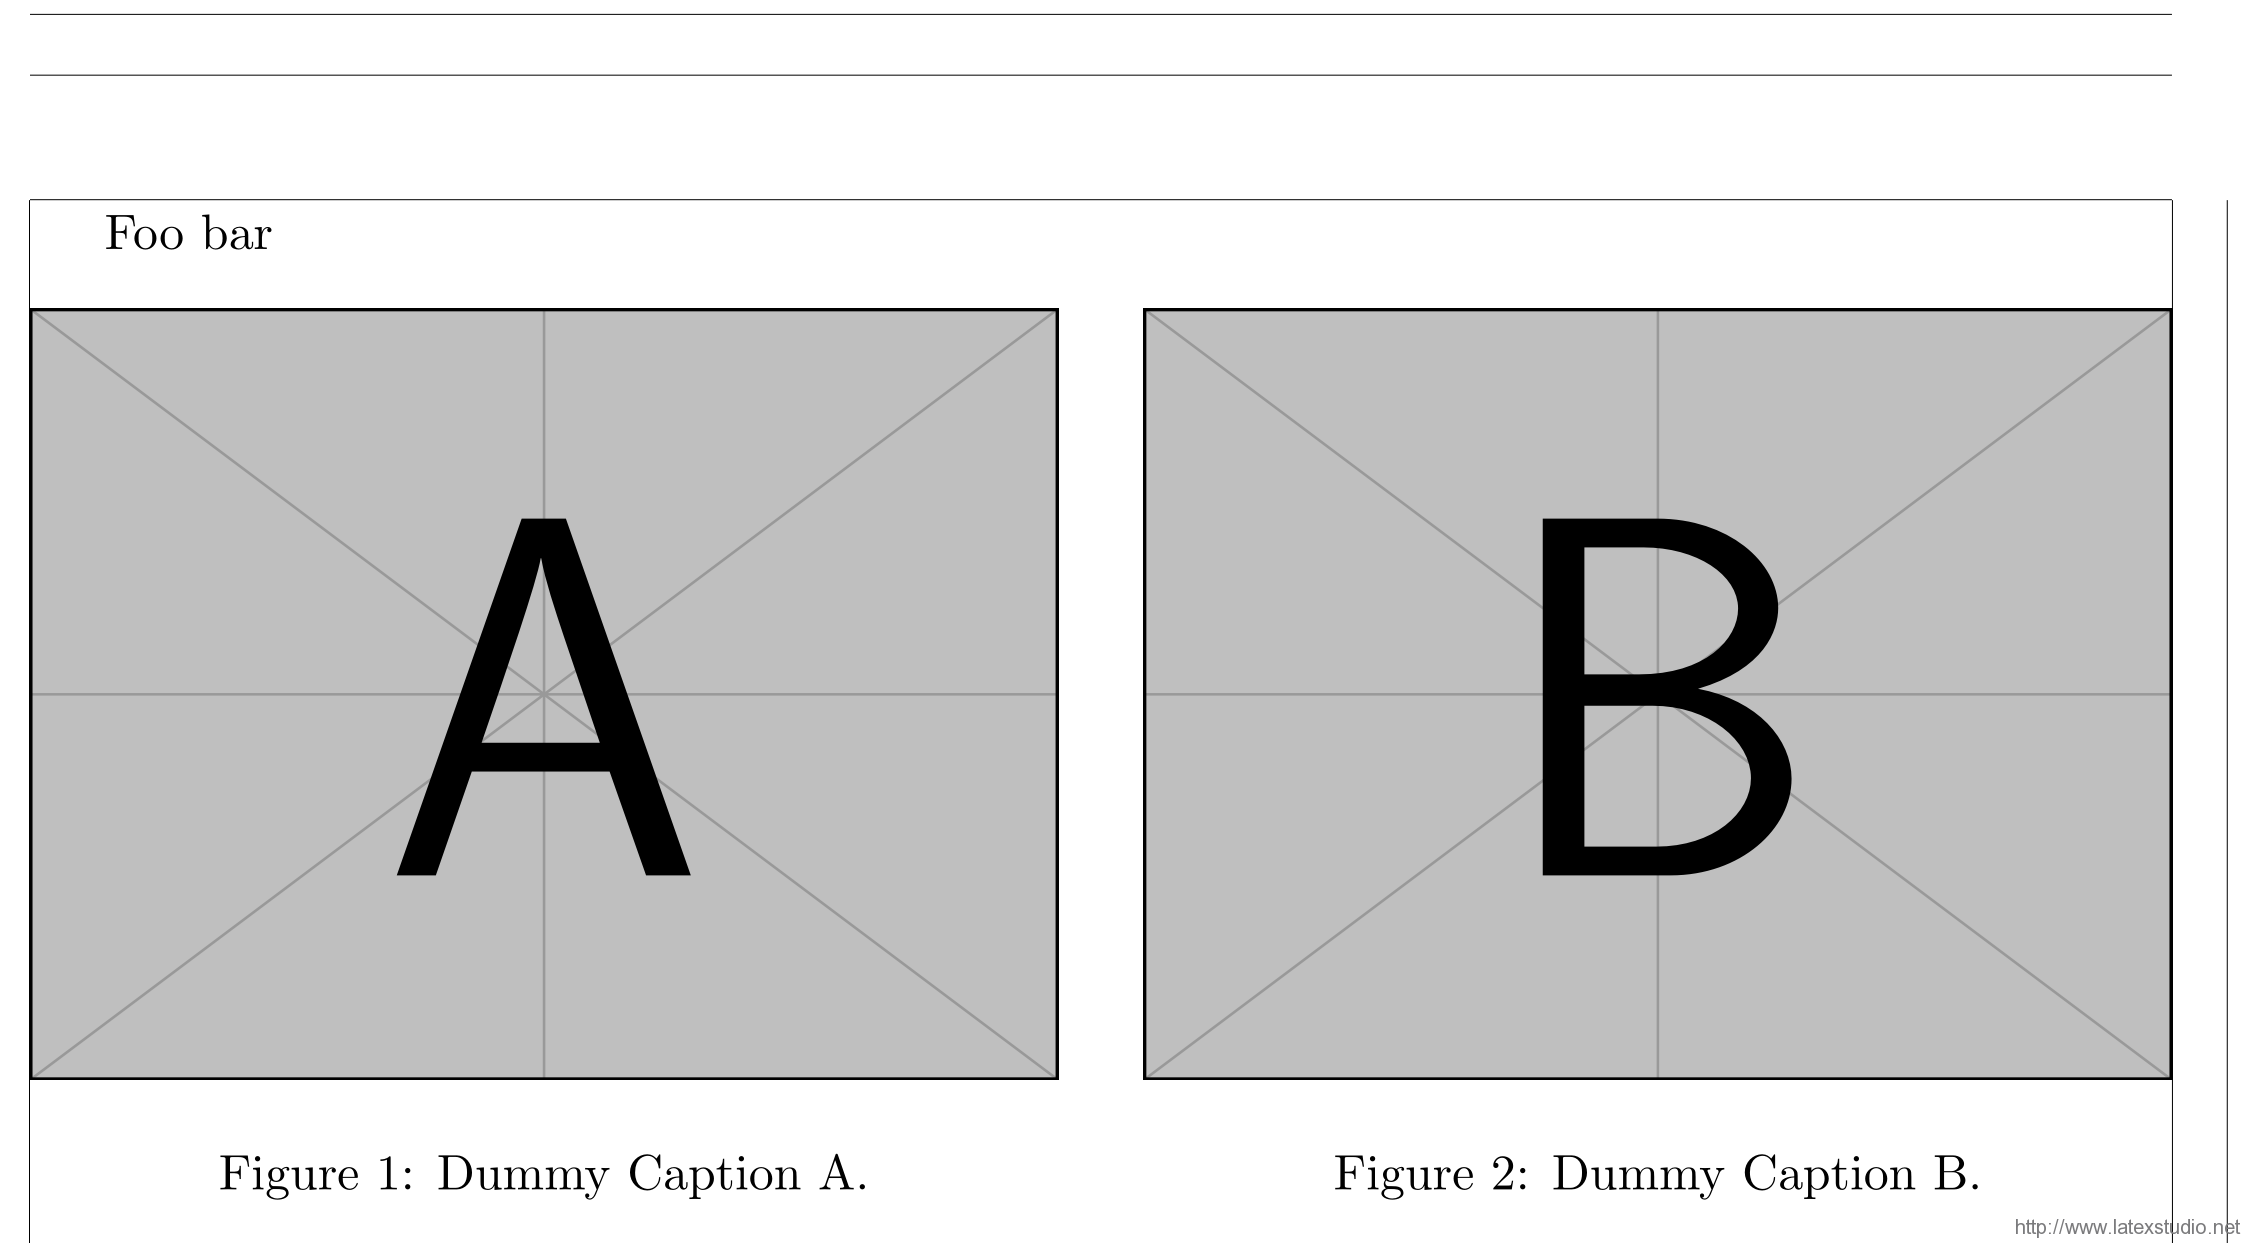 代码中,我们用
 minipage 环境将两个图片和他们分别的题注放在一起。这样,两张图片并排摆放,分别有题注。注意,由于图片放在小页环境中,所以 \includegraphics 环境的宽度参数应改为 \linewidth,表示小页环境当中的行宽。
纵向摆放,无题注
横向摆放的要点在于同一行的元素总宽度不大于允可的宽度,这是了解到浮动体文本框内排版逻辑之后的直接推论。有此了解之后,控制两个元素纵向摆放也就很简单了:只需要让两个元素的总宽度大于允可的宽度,或是手工换行即可。
\documentclass{article}
\usepackage{graphicx}
\usepackage[showframe]{geometry}  % for showing frames of pages
\begin{document}
Foo
\begin{figure}[htb]
\centering
\includegraphics[width = .6\linewidth]{example-image-a}\\[2ex]
\includegraphics[width = .6\linewidth]{example-image-b}
\end{figure}
bar
\end{document}
多个元素与子题注
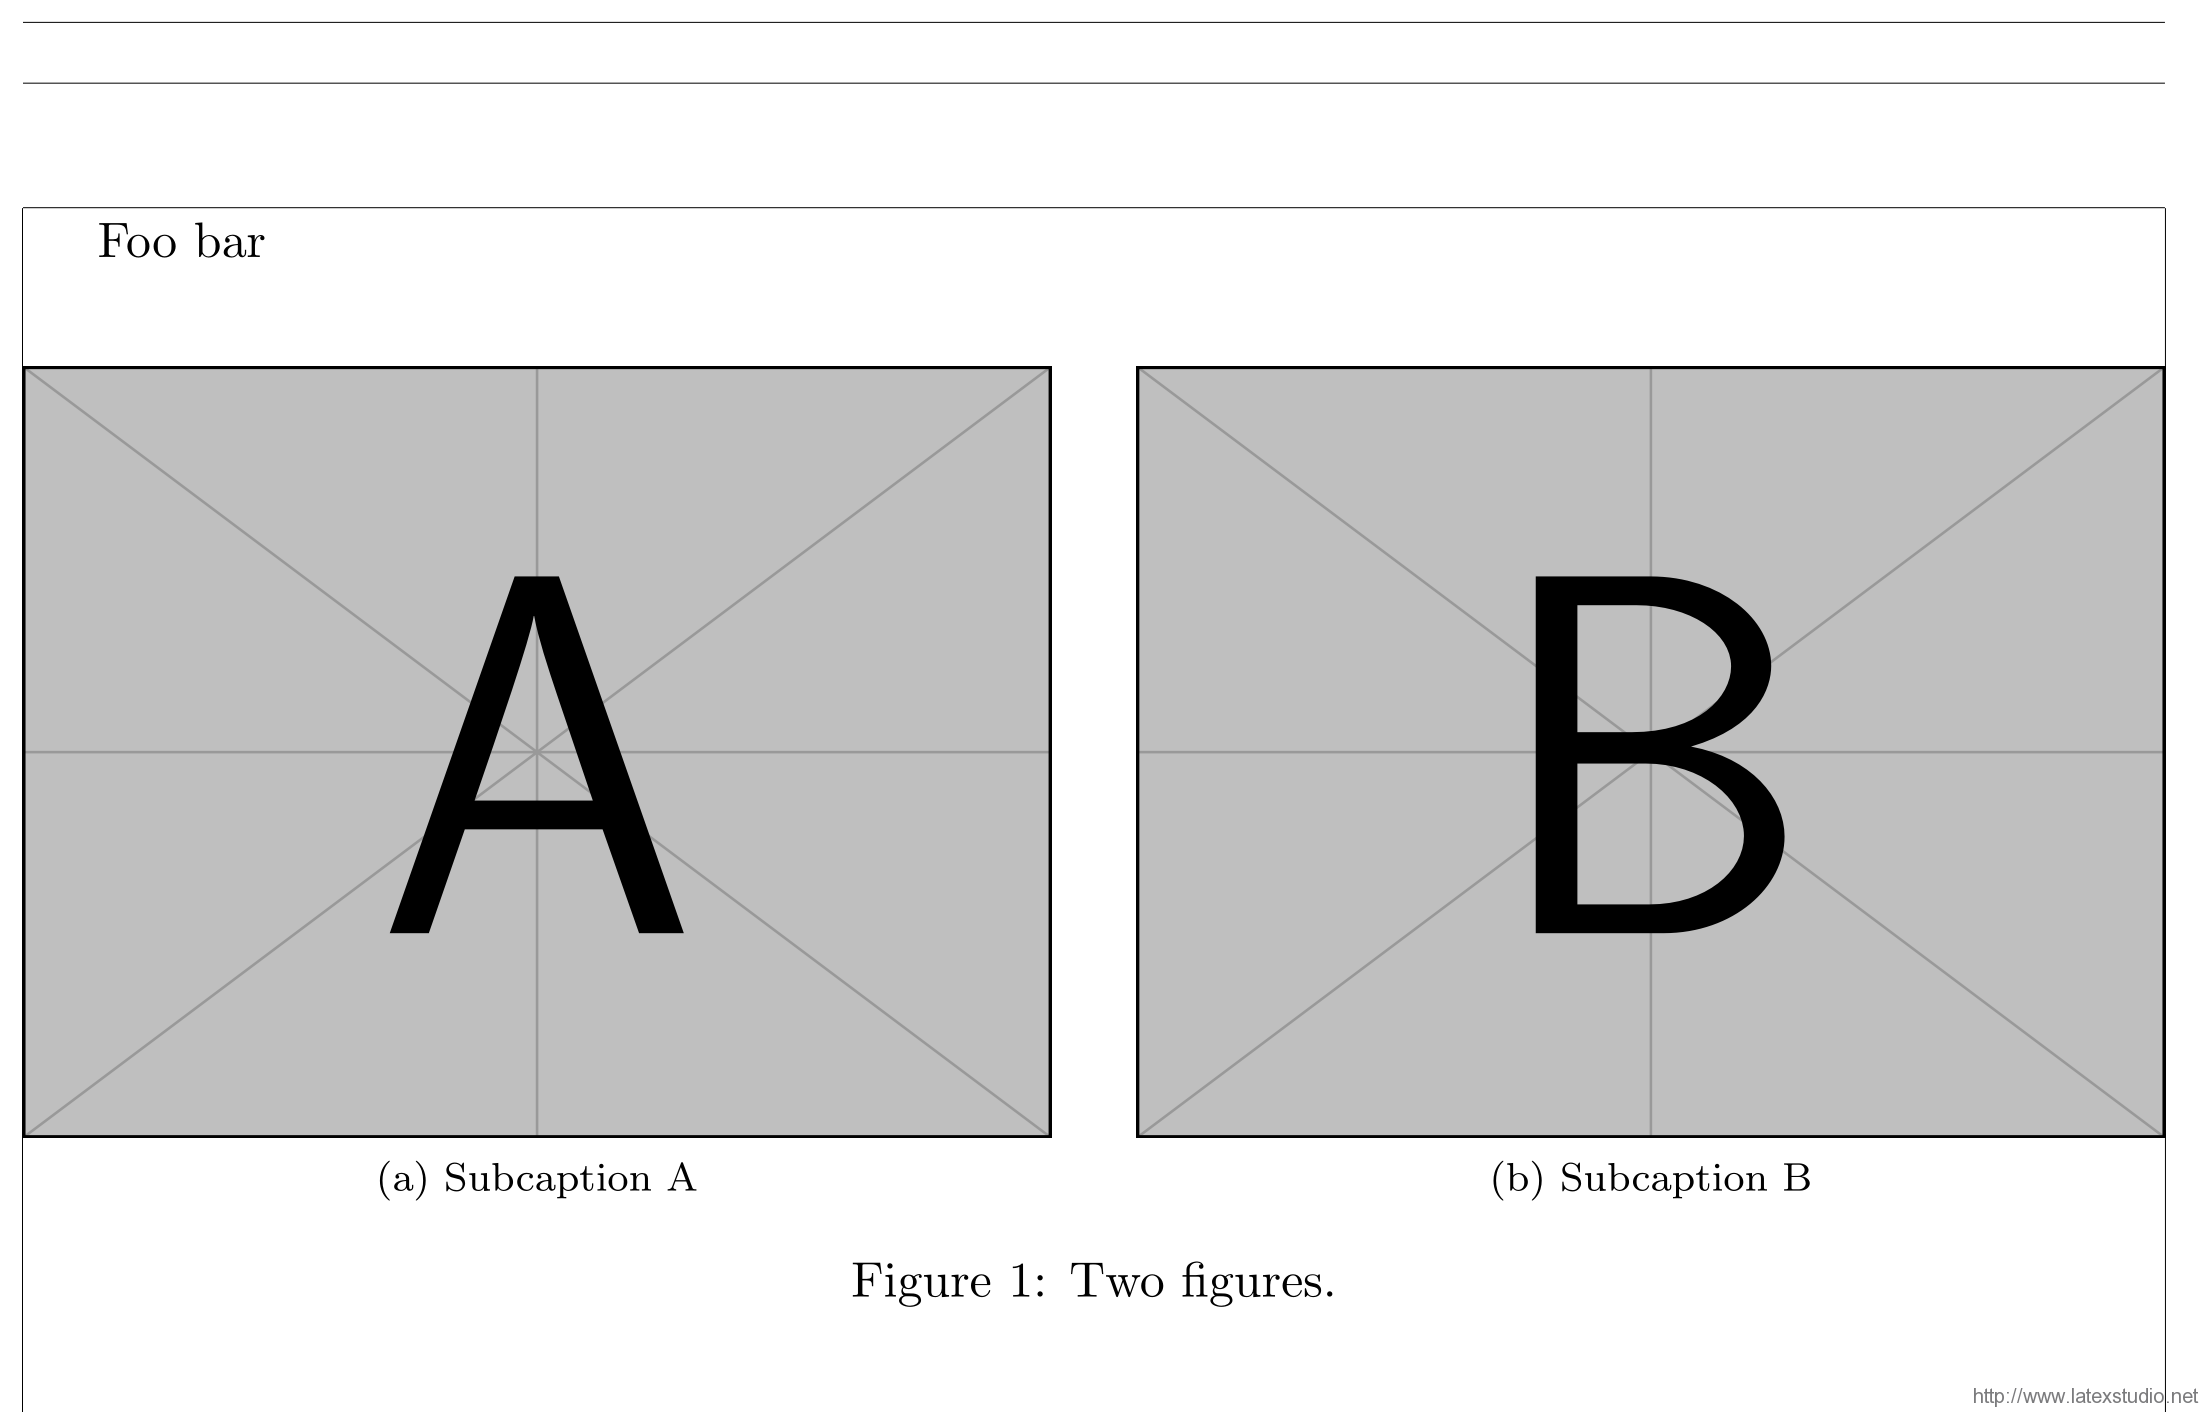
有时,我们会希望给每个元素分别加上题注,但同时又共享一个题注。这时候,每个元素的题注就应该是共享的题注的子题注。
为了使用子题注,应该使用 subfig 宏包(提供了 \subfloat 命令)或者 subcaption 宏包(适合与 caption 宏包联用,提供了 \subcaption 等命令)。
使用 subfig 宏包
subfig 宏包的核心即是 \subfloat 命令;\subfloat 命令为其中的内容(图片或表格)创建了一个盒子,并支持设置子题注。具体用法如下。
\documentclass{article}
\usepackage{graphicx}
\usepackage{subfig}
\usepackage[showframe]{geometry}  % for showing frames of pages
\begin{document}
Foo
\begin{figure}[htb]
\centering
\subfloat[Subcaption A]{\includegraphics[width = .48\linewidth]{example-image-a}}\hfill
\subfloat[Subcaption B]{\includegraphics[width = .48\linewidth]{example-image-b}}
\caption{Two figures.}
\end{figure}
bar
\end{document}
使用 subcaption 宏包
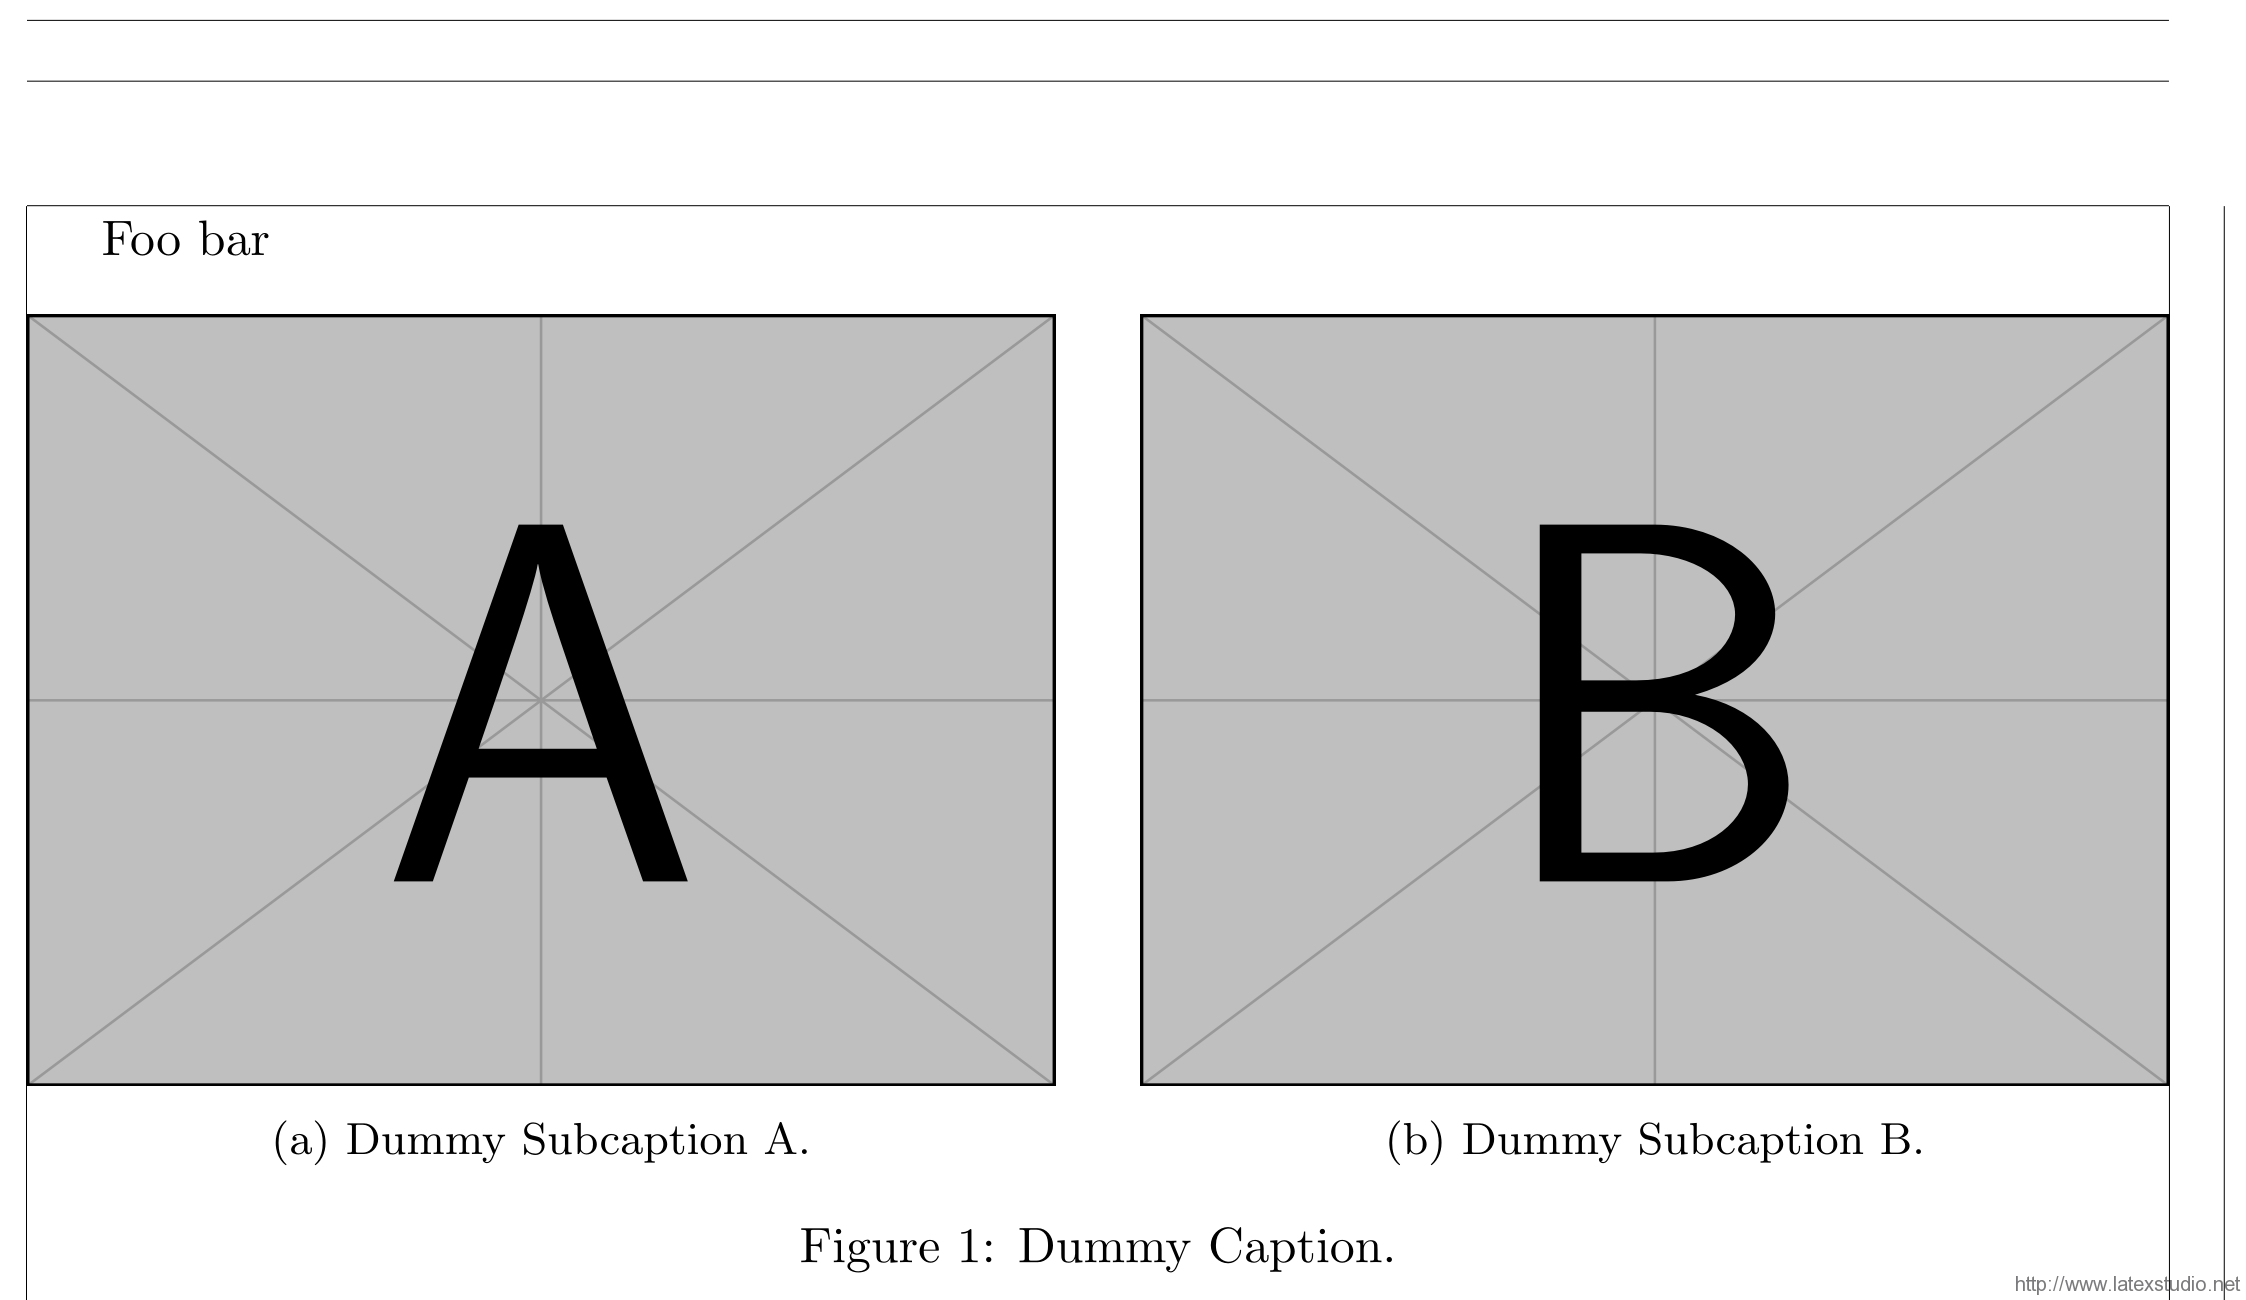
subcaption 宏包适合与 caption 宏包联用。因此,若文档中已经使用了 caption 调整题注的样式,首先应考虑 subcaption 宏包来实现子题注。subcaption 提供的 \subcaption 命令是实现子题注最简便的方式:只需要在上述「并排摆放,各有标题」的基础上,将 \caption 命令替换成 \subcaption 命令即可。
\documentclass{article}
\usepackage{graphicx}
\usepackage{caption}
\usepackage{subcaption}
\usepackage[showframe]{geometry}  % for showing frames of pages
\begin{document}
Foo
\begin{figure}[htb]
\centering
\begin{minipage}{0.48\linewidth}
\centering
\includegraphics[width = \linewidth]{example-image-a}
\subcaption{Dummy Subcaption A.}
\end{minipage}\hfill
\begin{minipage}{0.48\linewidth}
\centering
\includegraphics[width = \linewidth]{example-image-b}
\subcaption{Dummy Subcaption B.}
\end{minipage}
\caption{Dummy Caption.}
\end{figure}
bar
\end{document}
虽然
虽然 \subcaption 用起来方便,但是由于外面要套一层小页环境,所有代码加在一起就很繁琐了。为此,可以使用 subcaption 宏包提供的另一个命令:\subcaptionbox。\subcaptionbox 的用法类似 \subfloat。
\documentclass{article}
\usepackage{graphicx}
\usepackage{caption}
\usepackage{subcaption}
\usepackage[showframe]{geometry}  % for showing frames of pages
\begin{document}
Foo
\begin{figure}[htb]
\centering
\subcaptionbox{Dummy Subcaption A.}{\includegraphics[width = .48\linewidth]{example-image-a}}\hfill
\subcaptionbox{Dummy Subcaption B.}{\includegraphics[width = .48\linewidth]{example-image-b}}
\caption{Dummy Caption.}
\end{figure}
bar
\end{document}
扩展阅读
至此,此篇文章需要介绍的内容就此完结,本系列也即将宣告结束。以下是一些扩展阅读。
caption宏包:提供了一系列控制题注格式的接口;subcaption宏包:提供了控制子题注的接口,适合与caption宏包联用;subfig宏包:提供了控制子题注的借口;floatrow宏包:提供了更多的控制浮动体格式的接口。
选自:https://liam0205.me/2018/01/11/floats-in-LaTeX-multiple-elements-in-a-single-float/




发表评论 取消回复